
Selling tickets for your event
How to set up ticket types and get paid for your event — the three ways buyers can settle up, guest checkout, refunds, and how the platform fee changes with your plan.
This guide covers the selling side of ticketing: setting up ticket types, pricing them, and getting paid. Every ticket also carries a QR code used for admission on the day — that side of things, scanning people in at the door, has its own guide: Checking people in with QR codes.
Before you start
Ticketing is available on every paid plan — Starter, Pro, and Business. It's not a feature you unlock separately; it comes with running events at any tier. The one thing that changes between tiers is the platform's transaction fee (see below).
The only real prerequisite is Stripe, and only if you want to sell tickets people pay for online:
- Online tickets need a usable Stripe account connected to your community — see Connecting your Stripe account if you haven't done this yet. You won't be able to create an online ticket type until it's set up.
- Free tickets and pay-at-door tickets don't need Stripe at all. You can run a fully paid event using pay-at-door pricing with no Stripe connection.
Heads up. If your community is a branch of a parent community, paid tickets sell through the parent's Stripe account — branches don't connect their own.
Setting up and managing ticket types uses the same permission as managing the event itself. Owners, Admins, and Moderators can all create ticket types, mark pay-at-door payments as collected, and handle refunds. Sales figures (revenue, tickets sold) are visible to Owners and Admins only.
Setting up ticket types
An event can have as many ticket types as you need — General Admission, Early Bird, VIP, and so on — each configured independently:
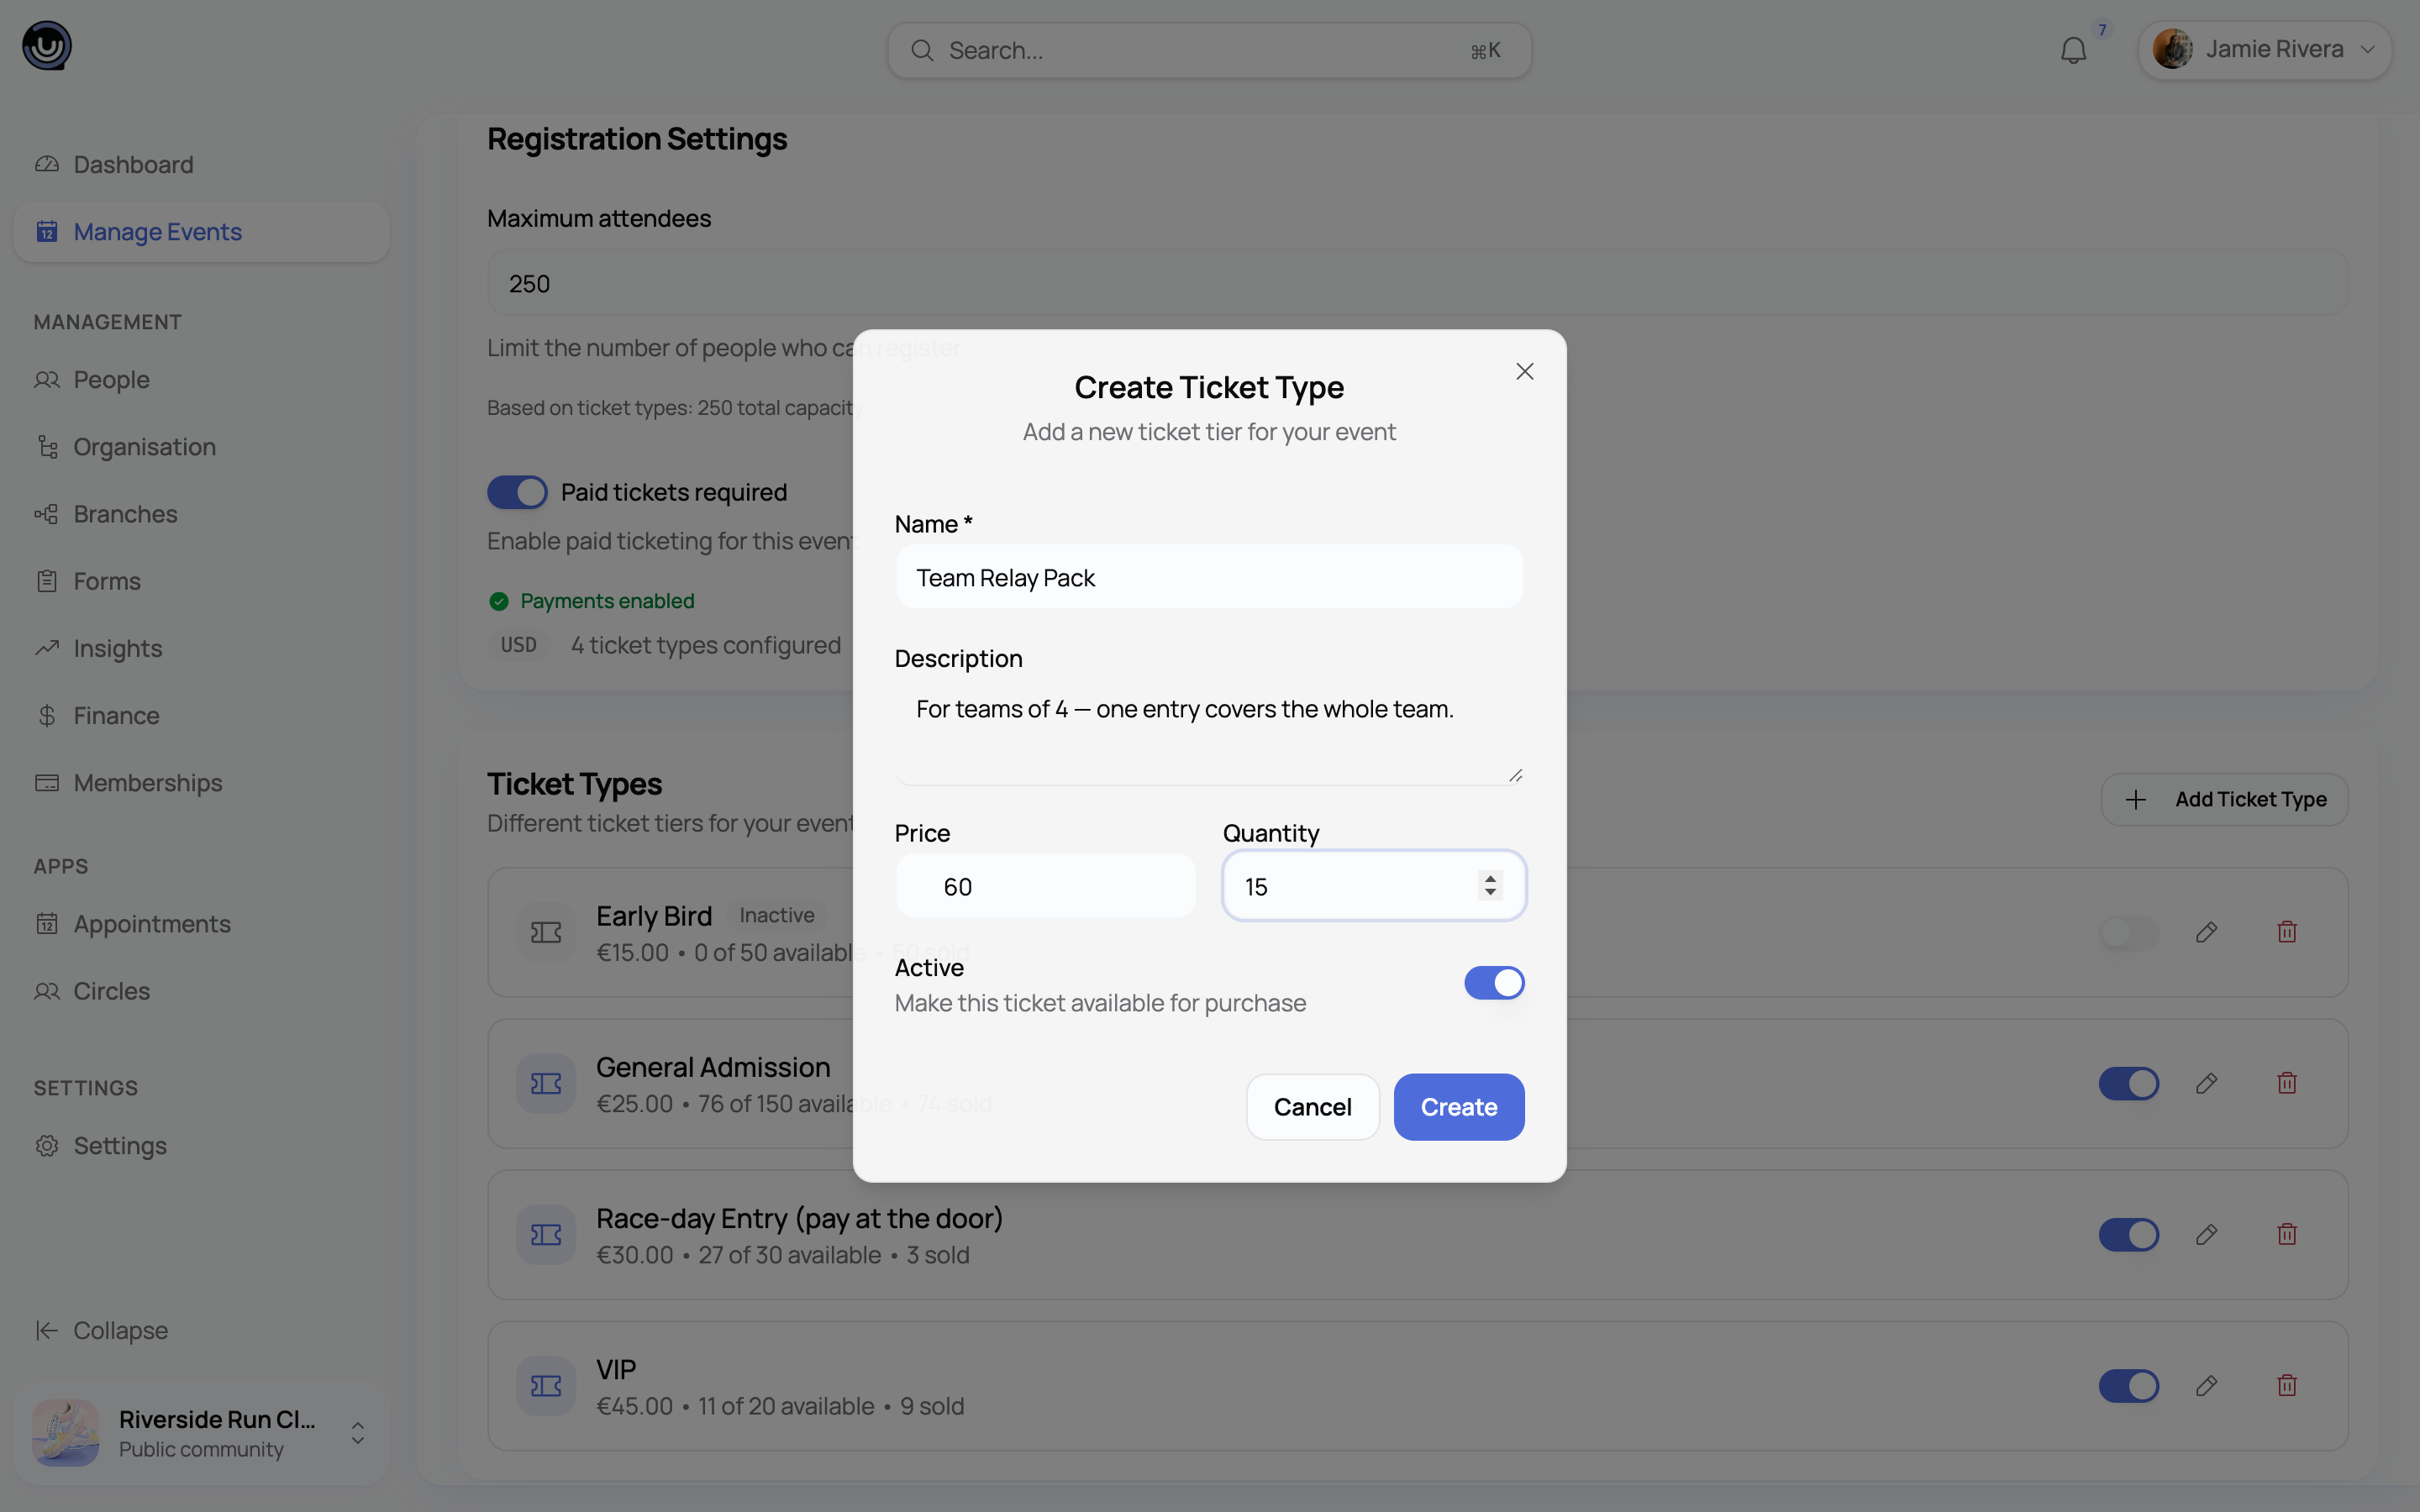
- Price. Set in euros. A price of zero makes it a free ticket type.
- Payment type. Online (Stripe Checkout) or Pay at the door (cash or another method collected in person). A buyer's order can only contain one payment type — someone can't combine an online ticket and a pay-at-door ticket in a single checkout.
- Inventory. Leave the quantity blank for unlimited availability, or cap it. Once a capped type sells out, it stops being offered until you raise the limit. Sold counts update automatically as tickets go out and are restored automatically if a purchase is cancelled or refunded.
- Sales window. Optional start and end dates for when the type is available to buy — useful for early-bird pricing that closes on its own.
- Benefits. An optional bullet list of what's included, shown to buyers comparing ticket types.
- Active toggle. Switch a type off to stop new sales without deleting it.
You can edit most of this at any time. Deleting is more restricted: a ticket type that already has paid sales can't be deleted — deactivate it instead, which keeps the historical record intact. A free ticket type with existing registrations can be deleted, but you'll be asked to confirm first, since that also removes those registrations.
How buyers pay
There are three settlement paths, and which one applies depends on the ticket type's price and payment setting:
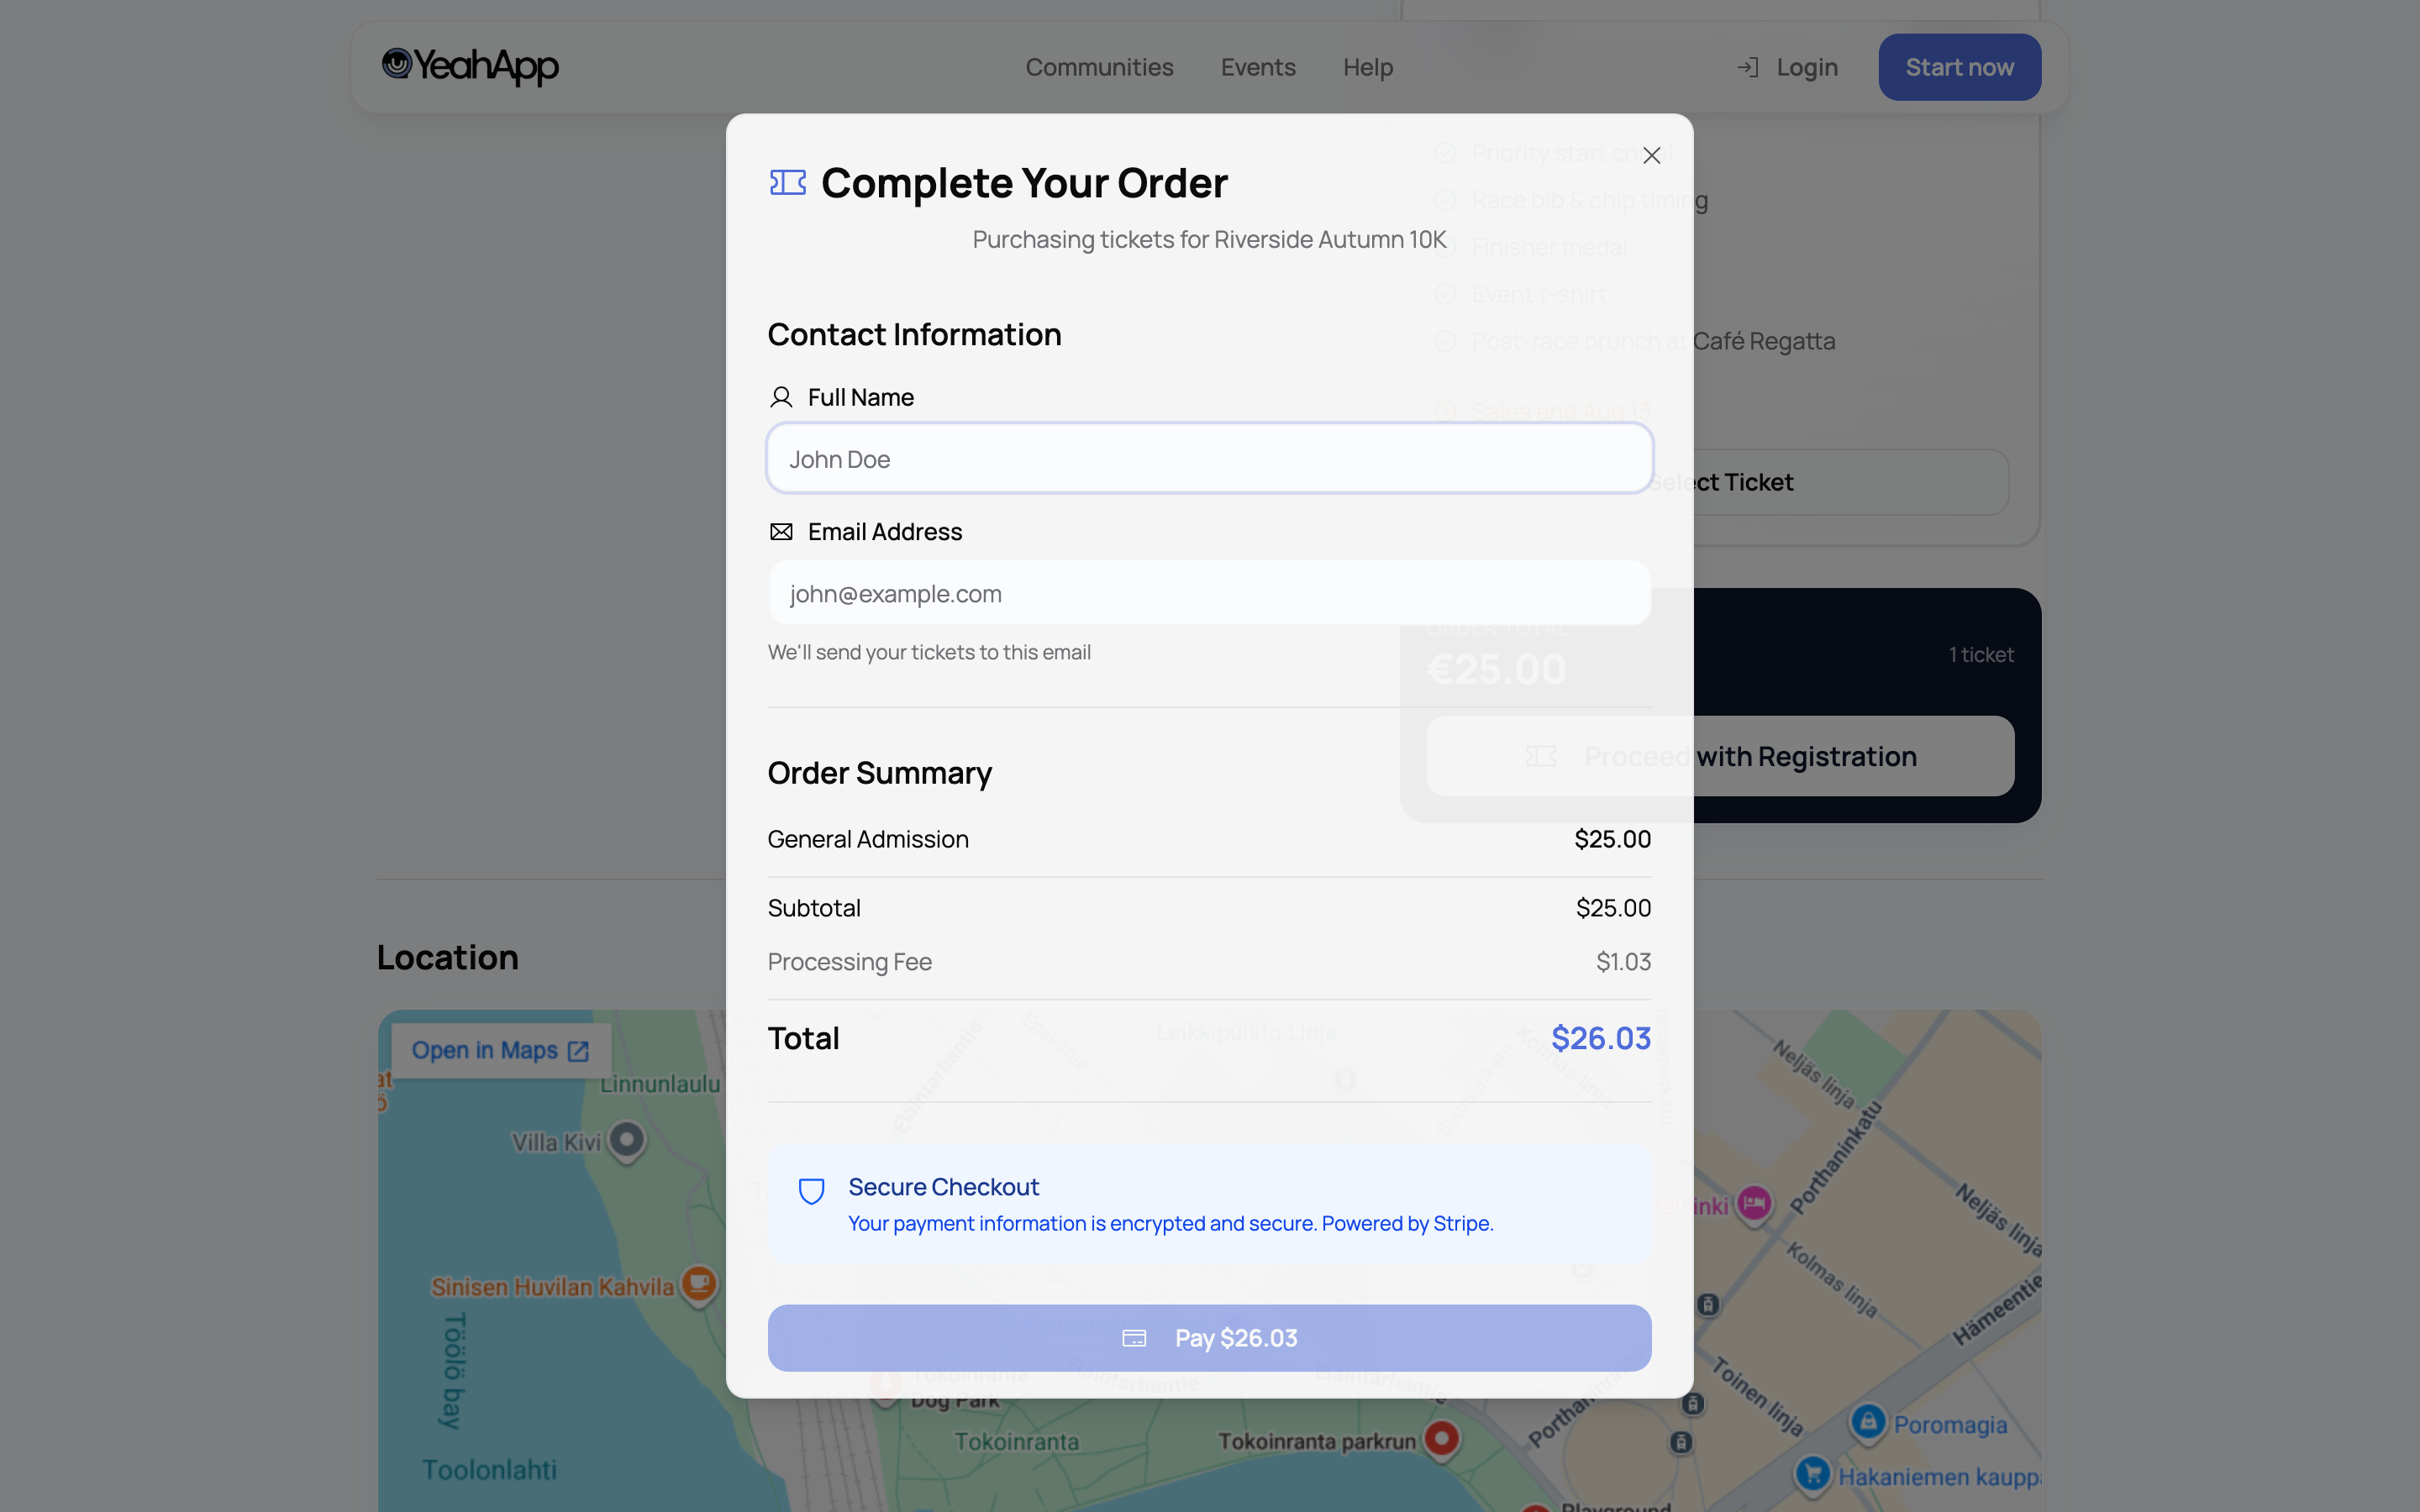
- Online, paid. The buyer pays by card through Stripe Checkout on your community's connected Stripe account. Your platform fee is deducted automatically and the rest lands directly in your Stripe balance — you're not waiting on YeahApp to forward anything. Buyers also see a separate processing fee (2.9% + €0.30) at checkout, on top of the platform fee. That's Stripe's own card-processing charge passed straight through — it isn't part of your platform fee and YeahApp doesn't keep any of it.
- Free. An online ticket type priced at zero. No Stripe step — the reservation confirms immediately.
- Pay at the door. The reservation confirms immediately without any payment. You collect cash (or whatever method you use) at the venue, then mark that reservation as paid from your event's management area once you've collected it. Marking it paid is for your own records — it doesn't affect whether the attendee can check in with their QR code on the day.
Guest checkout
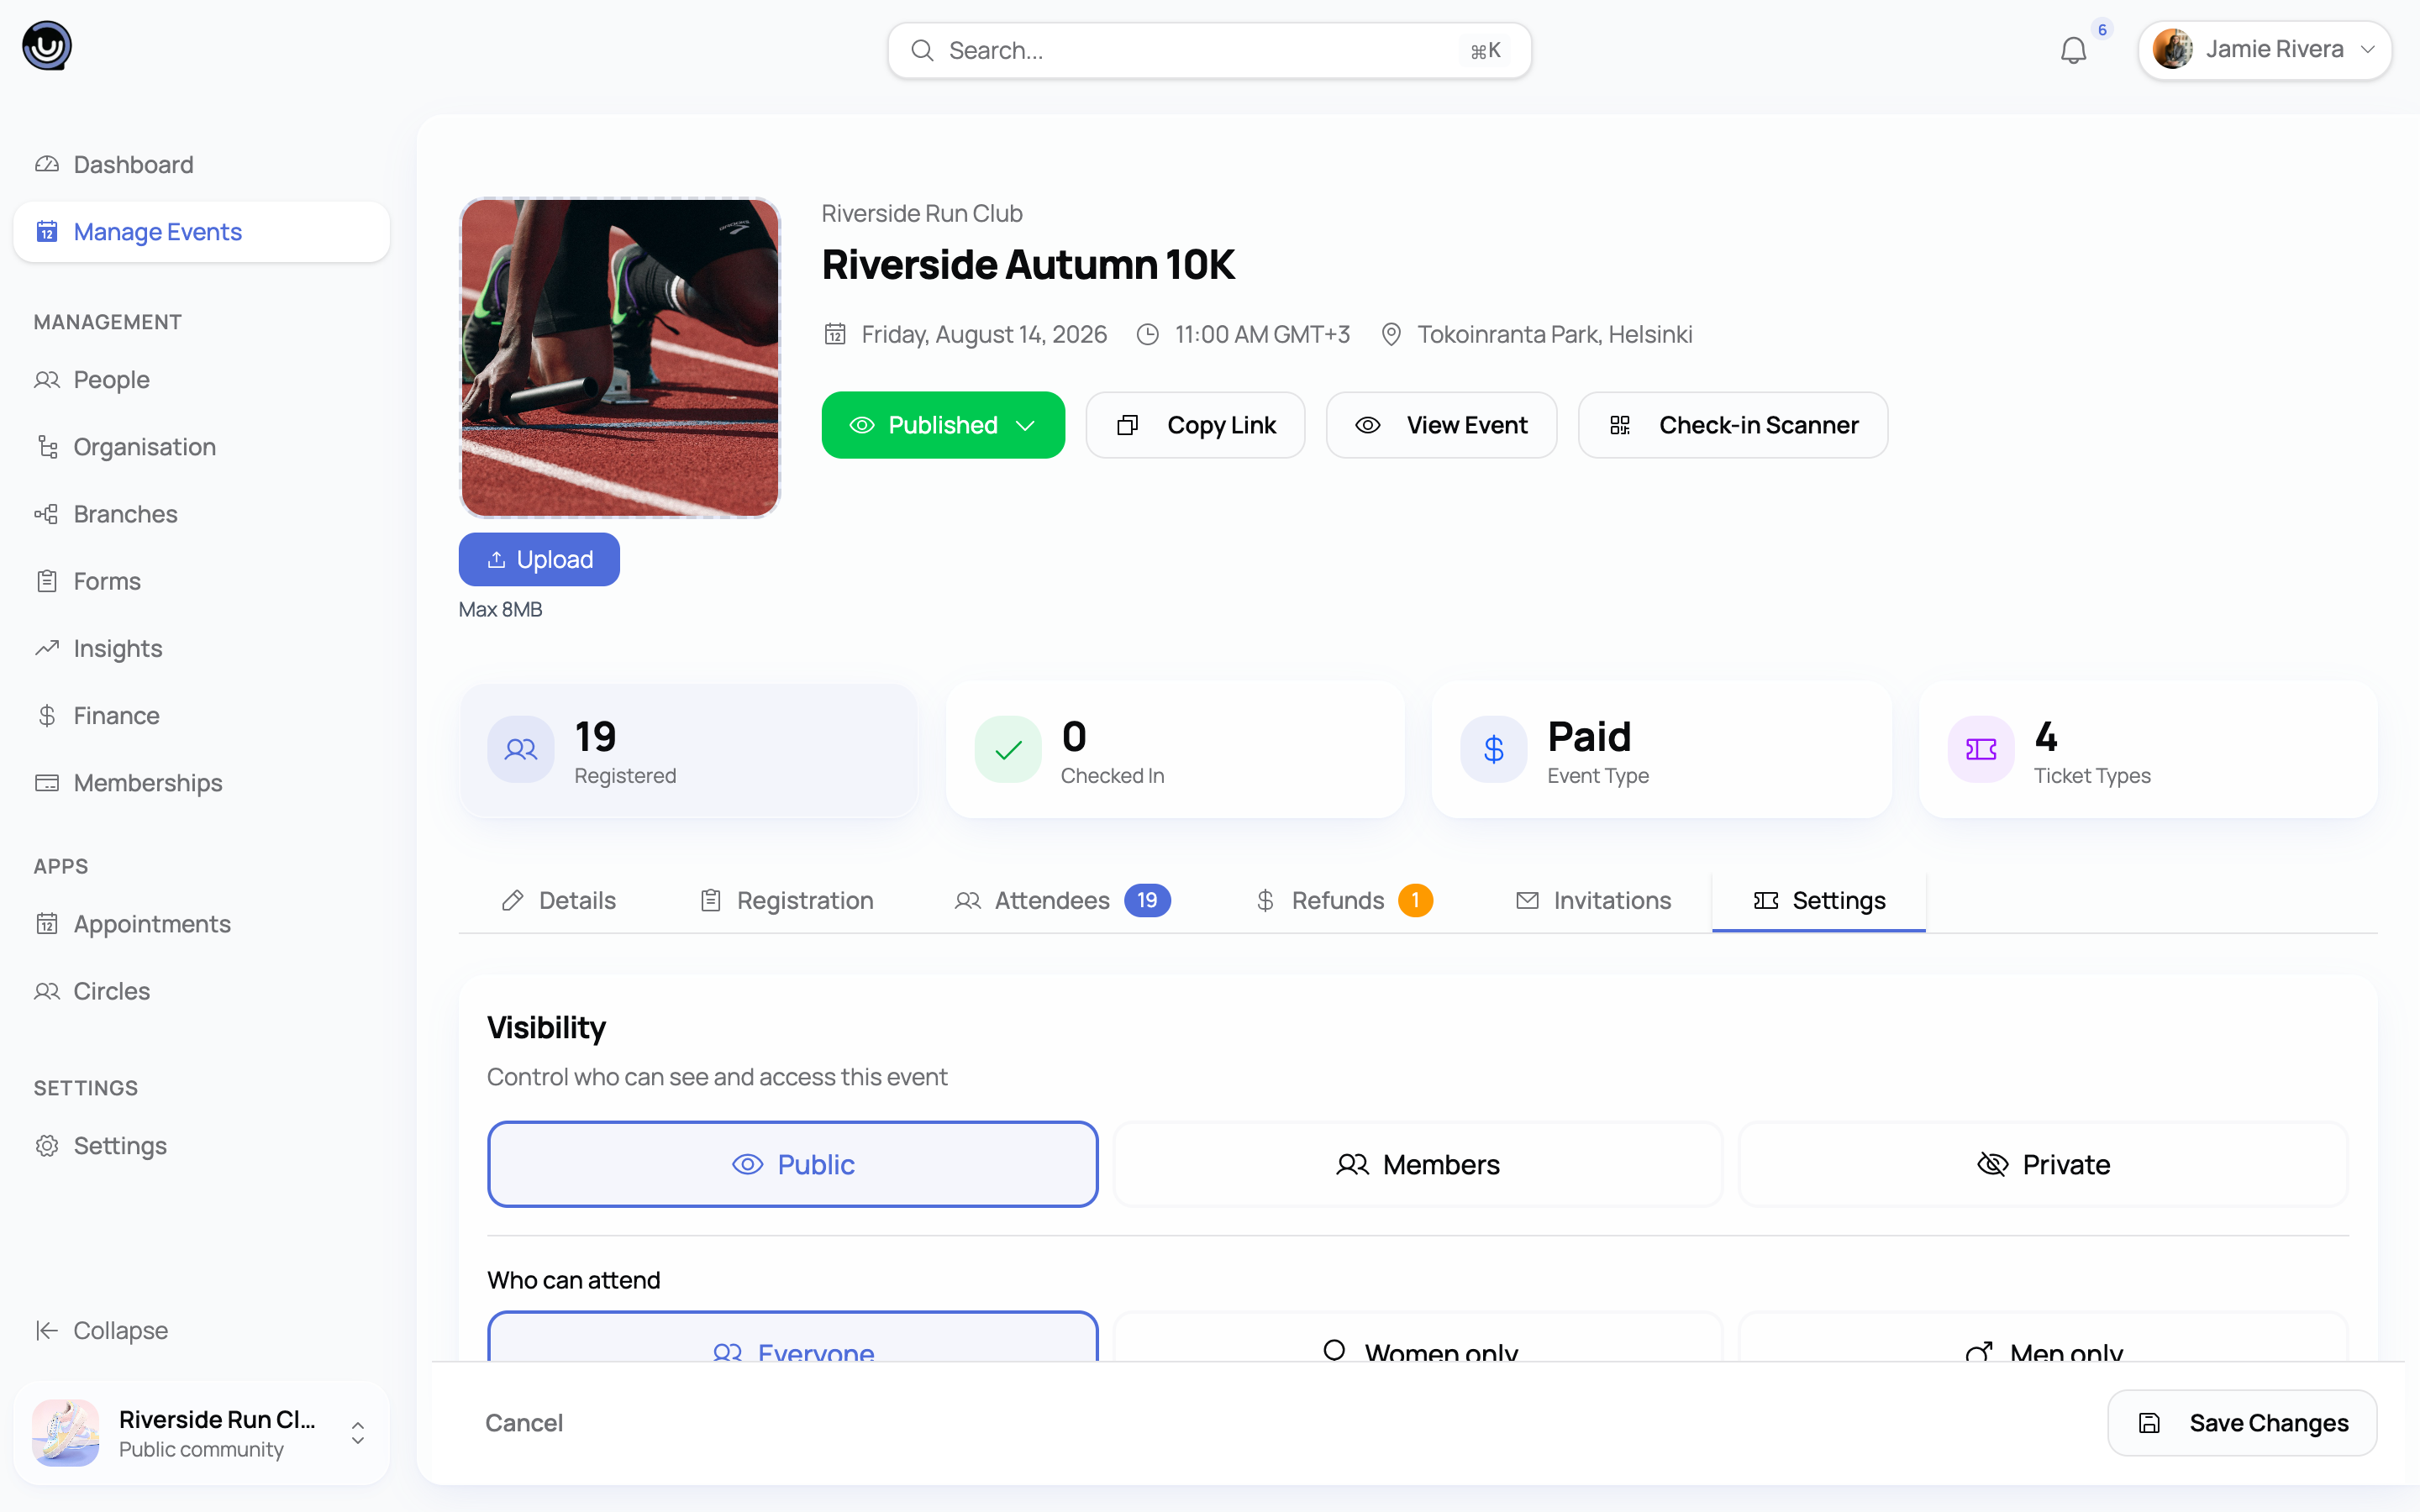
Buyers don't need a YeahApp account to get a ticket, unless the event is set to members-only. Someone checking out as a guest enters their name and email once at checkout; behind the scenes that gets them a lightweight account so they can view their ticket later, but it doesn't add them to your community as a member — buying a ticket makes someone an attendee, not a member.
A buyer's name and email are locked to their ticket the moment they check out, and there's no way to change them or transfer the ticket to someone else afterwards. If the wrong person ends up holding a ticket, the fix is to cancel or refund it and have the right person buy a new one. Each email address can also only hold one active ticket per event at a time — someone can't buy twice under the same address without cancelling or refunding the first.
Guests view and manage their ticket through the link in their confirmation email. Buyers with a YeahApp account see all their tickets together in their tickets wallet — see Buying a ticket and your tickets wallet.
Refunds
If a buyer requests a refund on a paid online ticket, you'll be notified and can approve or deny the request from your event's management area. Free and pay-at-door reservations don't go through this refund flow — since no money changed hands online, those are cancelled instead.
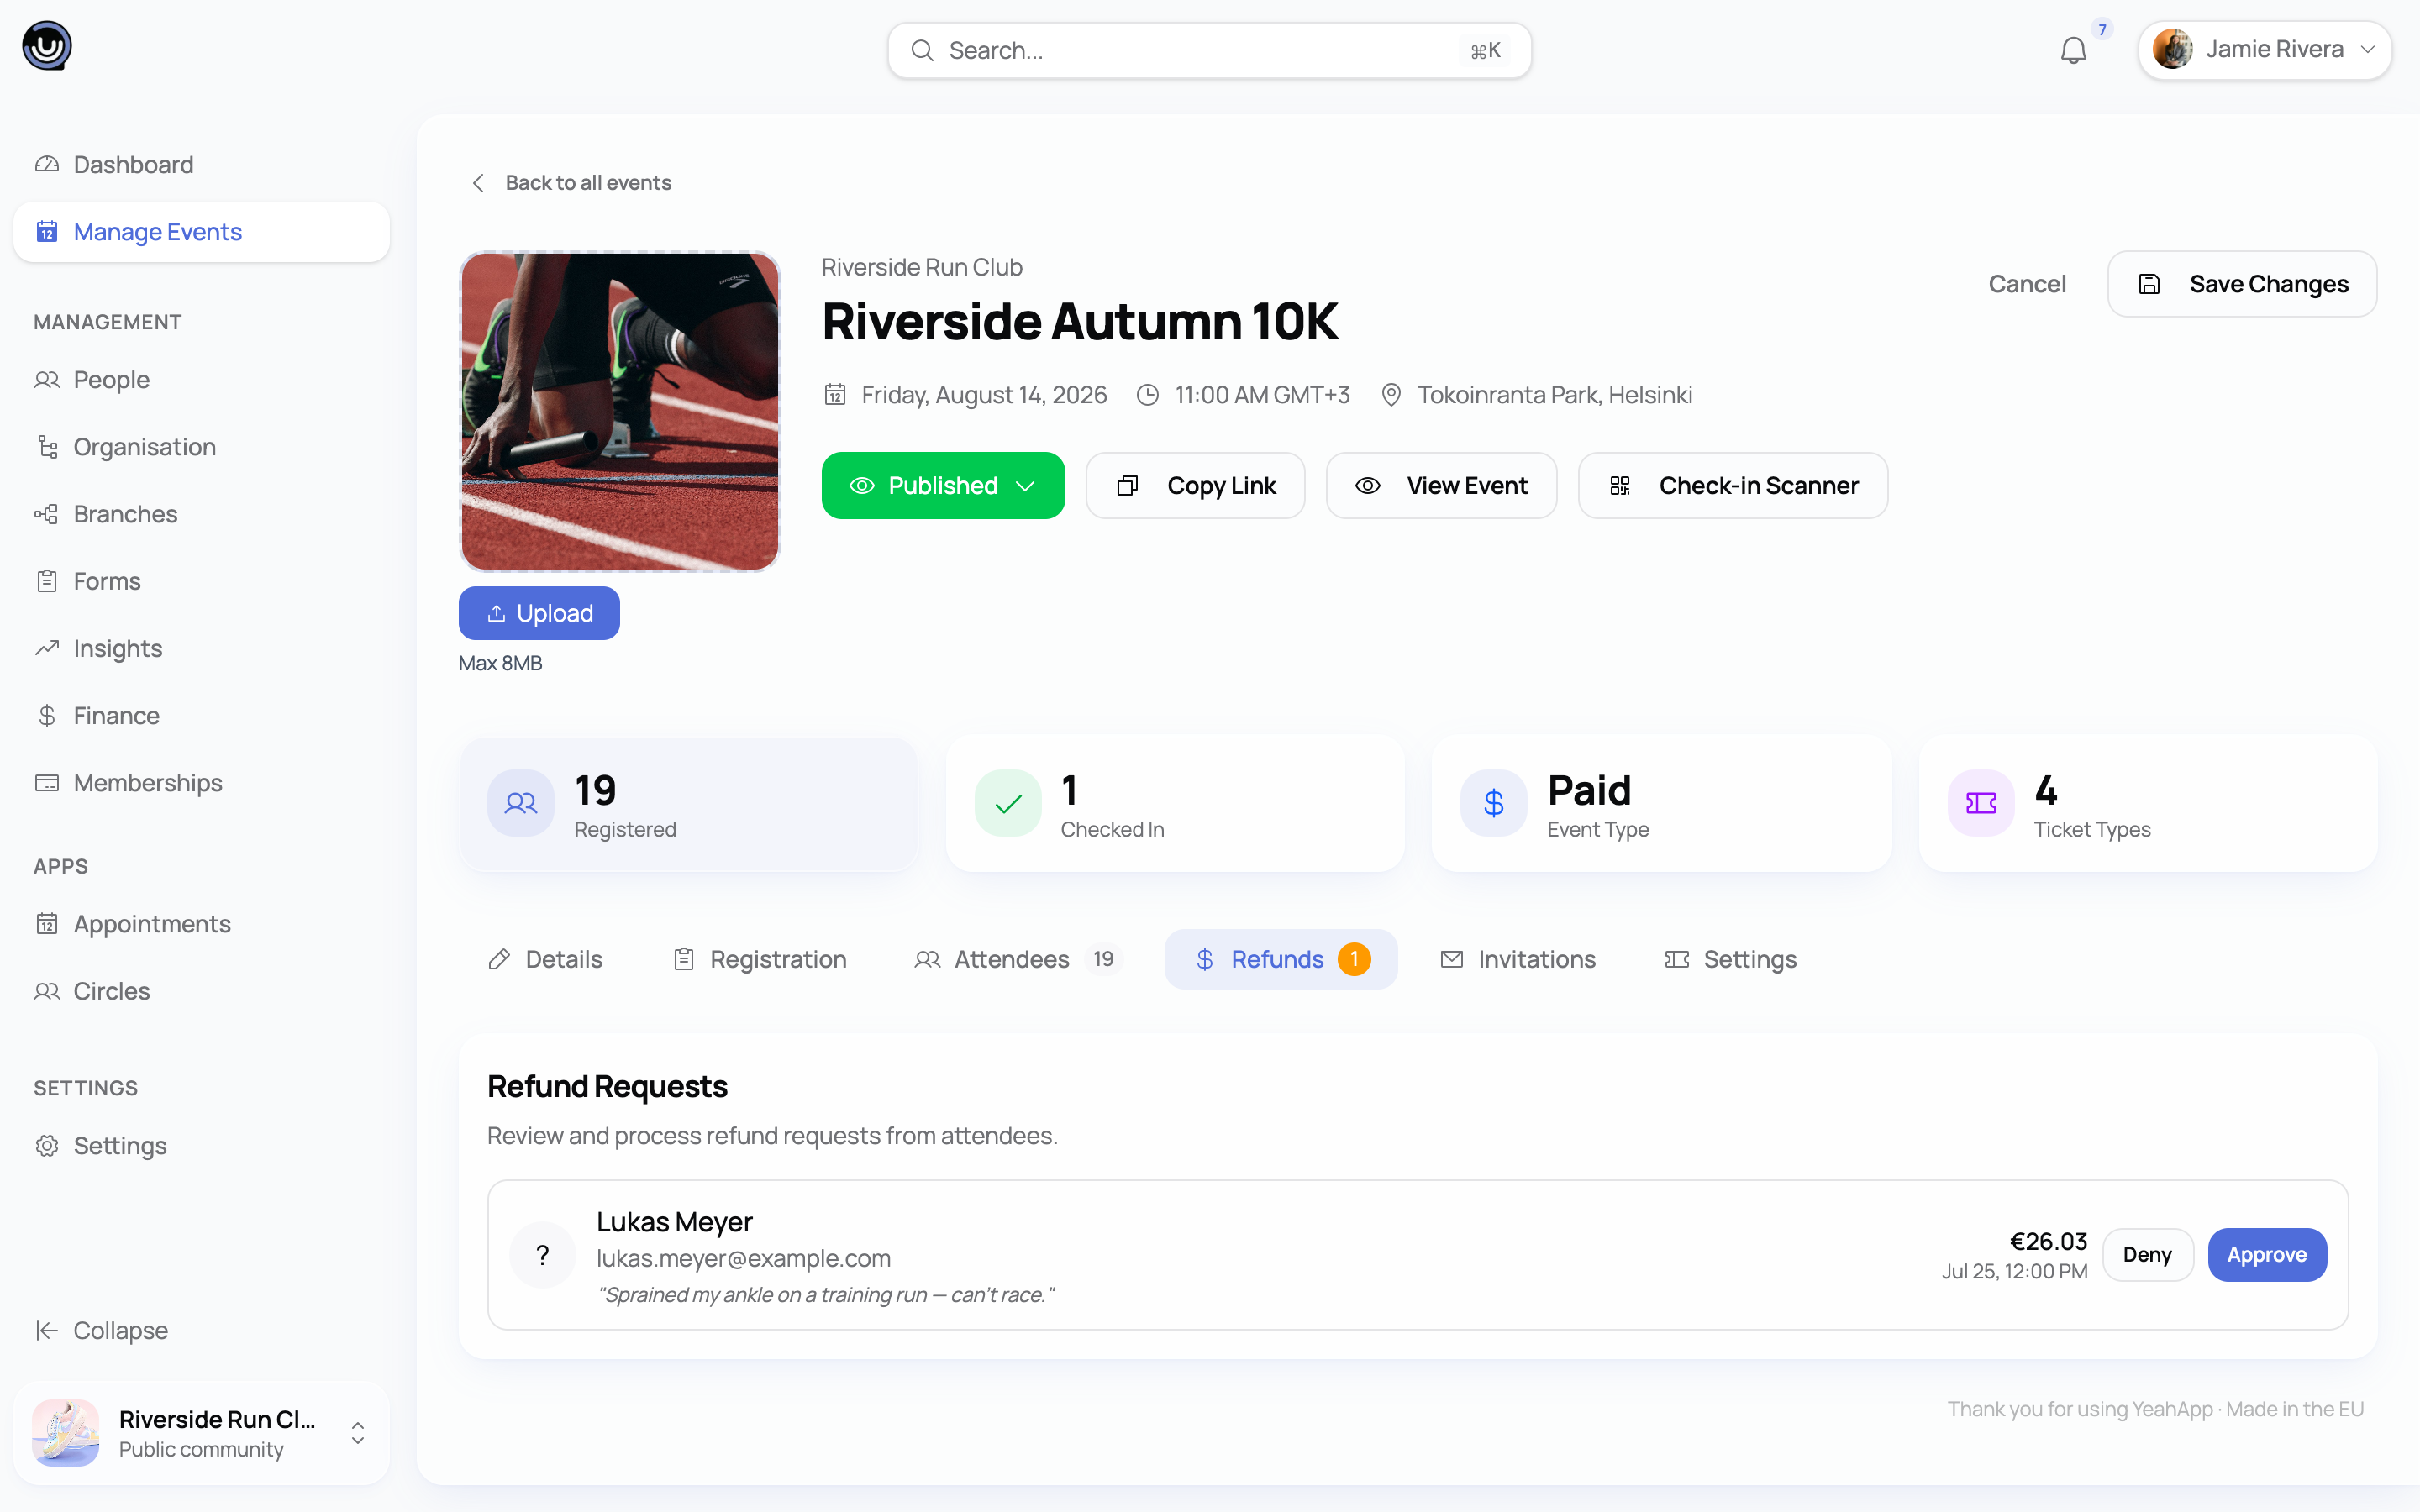
Heads up. Approving a refund returns the buyer's full payment, including the platform fee — the fee isn't kept back when a ticket is refunded.
This guide only covers the basics from the selling side. For the full workflow, including what buyers see and how the money moves, see How event refunds work on YeahApp.
The platform fee
The transaction fee on ticket sales is set by your community's plan and applies automatically — there's nothing to configure:
| Plan | Transaction fee |
|---|---|
| Starter | 6% |
| Pro | 3% |
| Business | 1.5% |
This fee is the only thing that scales with plan — ticketing itself, ticket types, QR check-in, and the scanner are the same feature set on every paid plan. The fee is calculated on the ticket price only; Stripe's processing fee (2.9% + €0.30, mentioned above) is separate and isn't affected by your plan.
Tracking sales
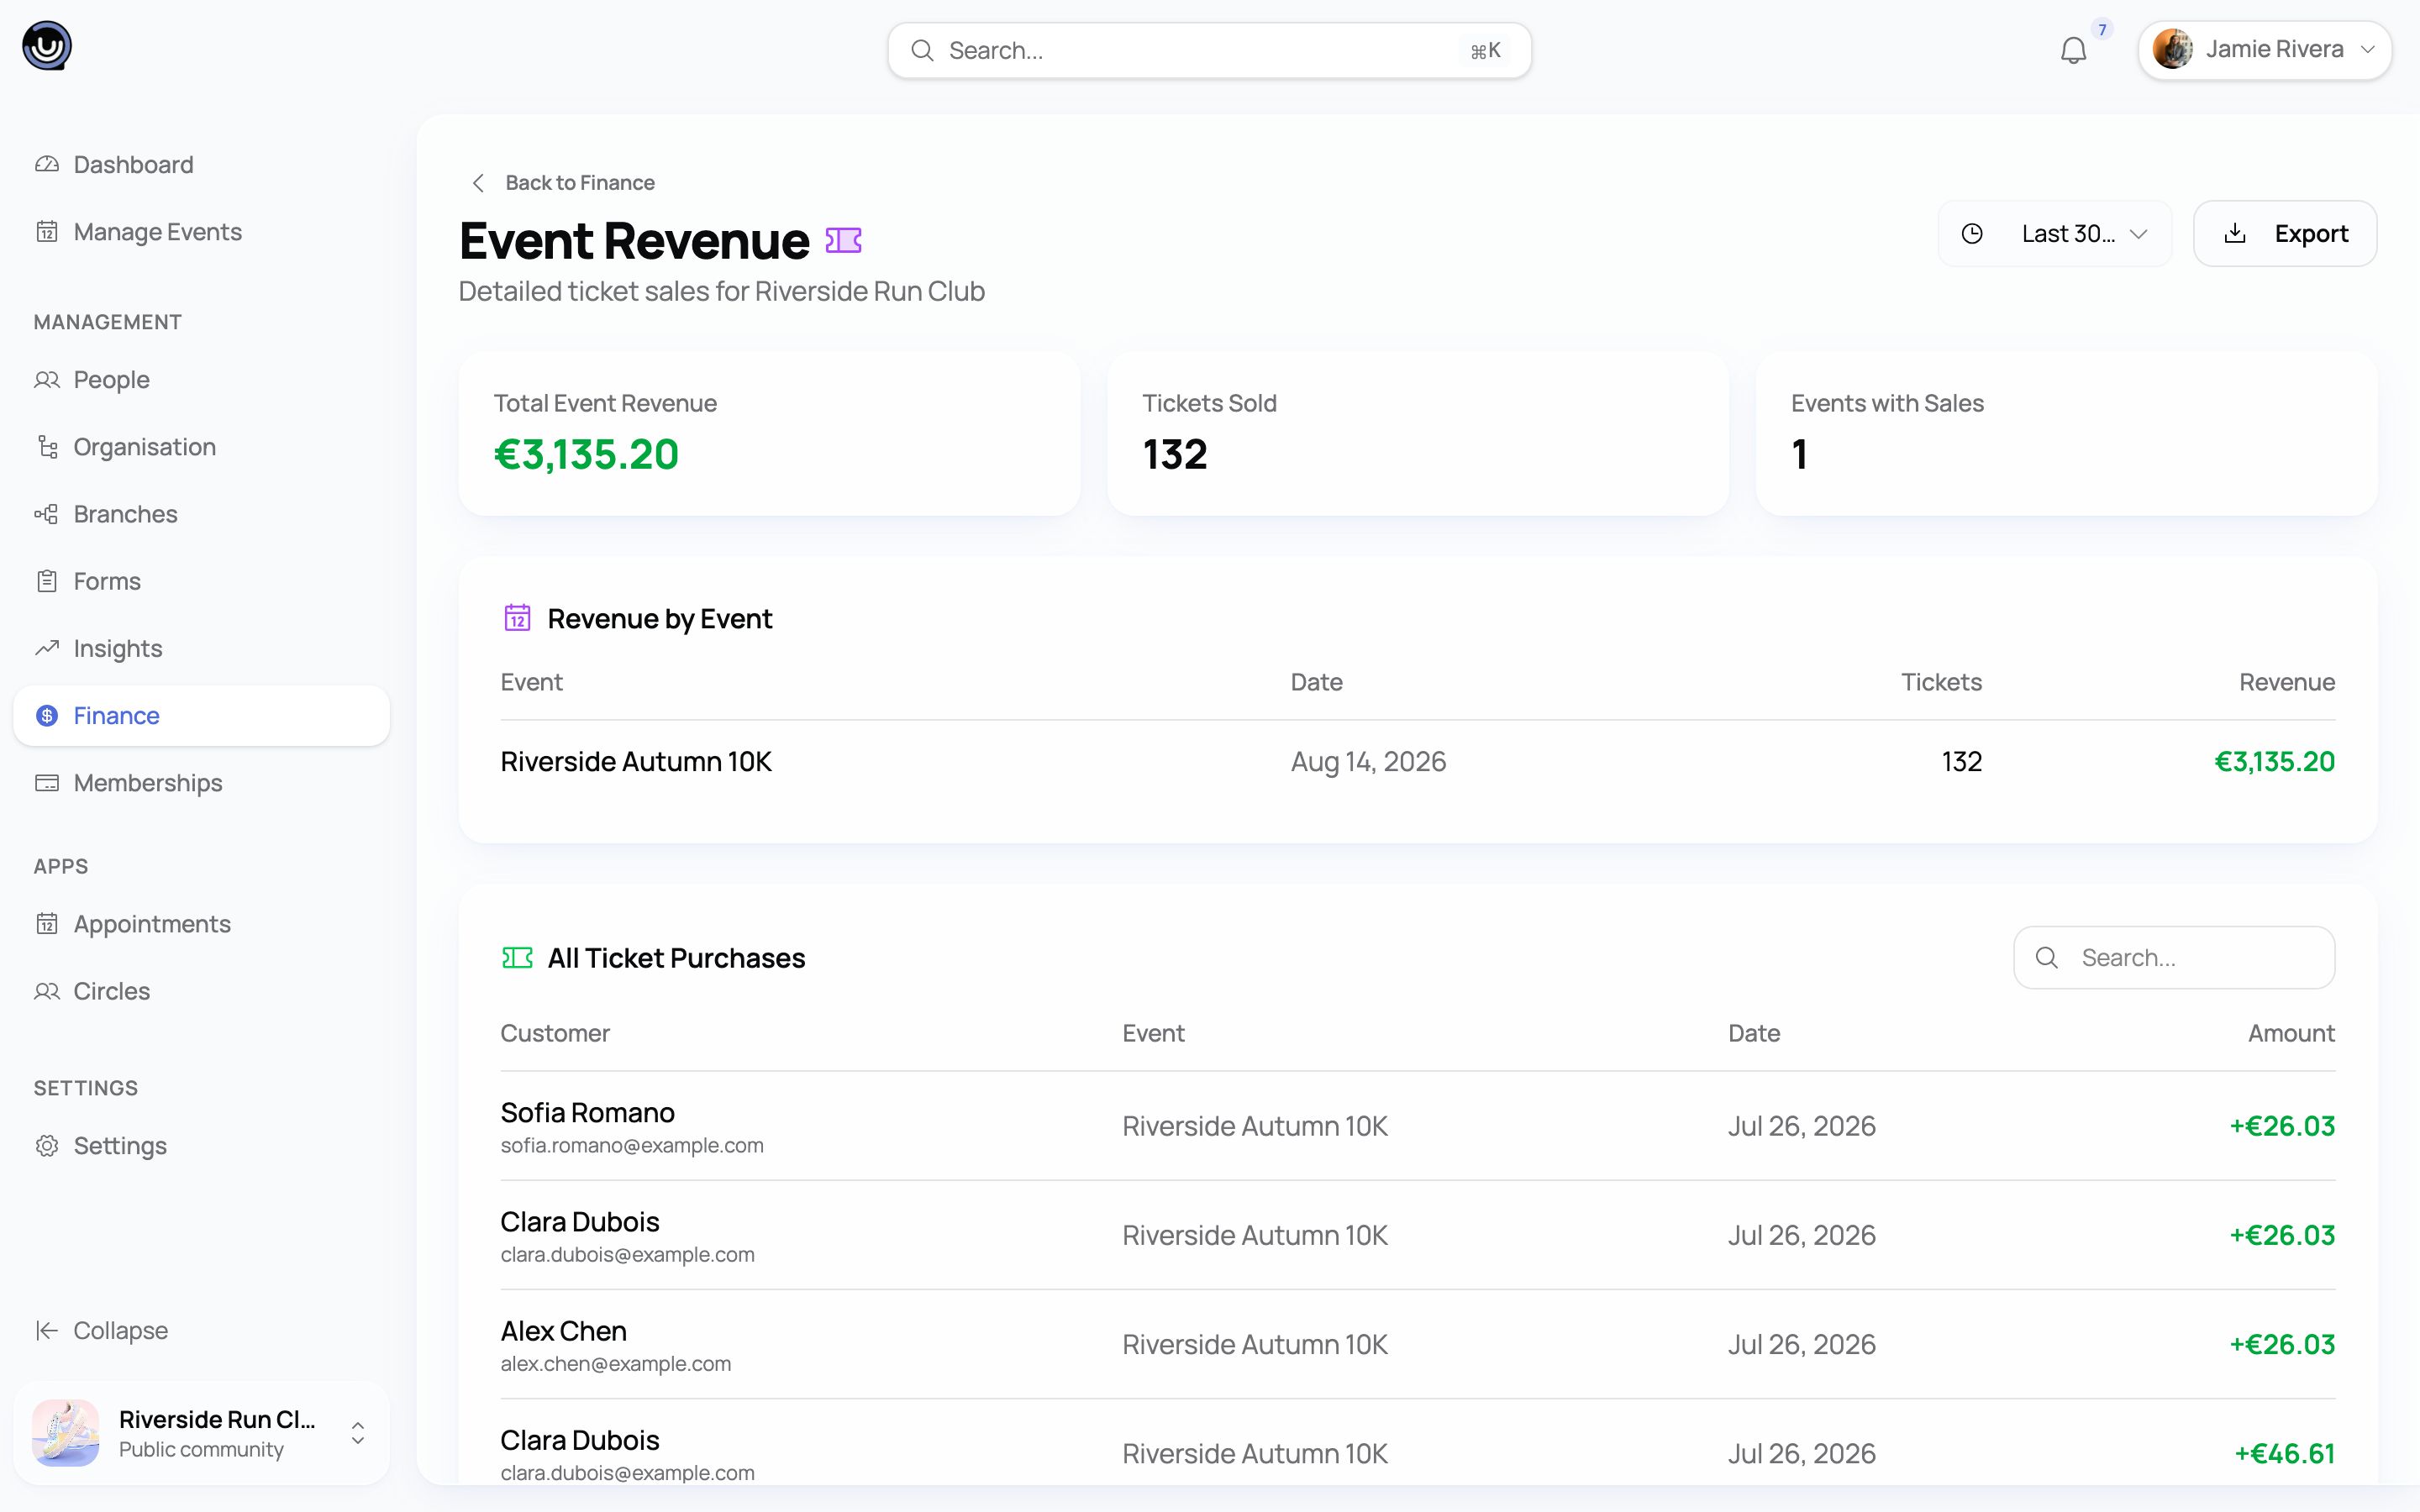
Your event's management area shows a live sales dashboard: total revenue, tickets sold, number of purchases, and a breakdown by ticket type, along with your most recent purchases. This is visible to Owners and Admins; Moderators can manage ticket types and at-door payments but don't get access to the sales figures.
How a ticket sale flows
The diagram below walks through the selling side end to end — a buyer picking a ticket type, choosing how they pay, and completing checkout across all three settlement paths. Checking that same ticket in at the door is a separate step, covered in Checking people in with QR codes.
Related guides
- Connecting your Stripe account — required before you can sell online tickets
- How event refunds work on YeahApp — the full refund workflow for buyers and organisers
- Checking people in with QR codes — scanning tickets at the door
- Creating and organising an event — where ticket types fit into building an event