
Creating and organising an event
This guide covers the full journey: from the moment you create an event to the point where you're looking at attendance data after it's done. You need Admin or Moderator access to follow these steps.
This guide covers the full journey: from the moment you create an event to the point where you're looking at attendance data after it's done. You need Admin or Moderator access to follow these steps.
Step 1: Create the event
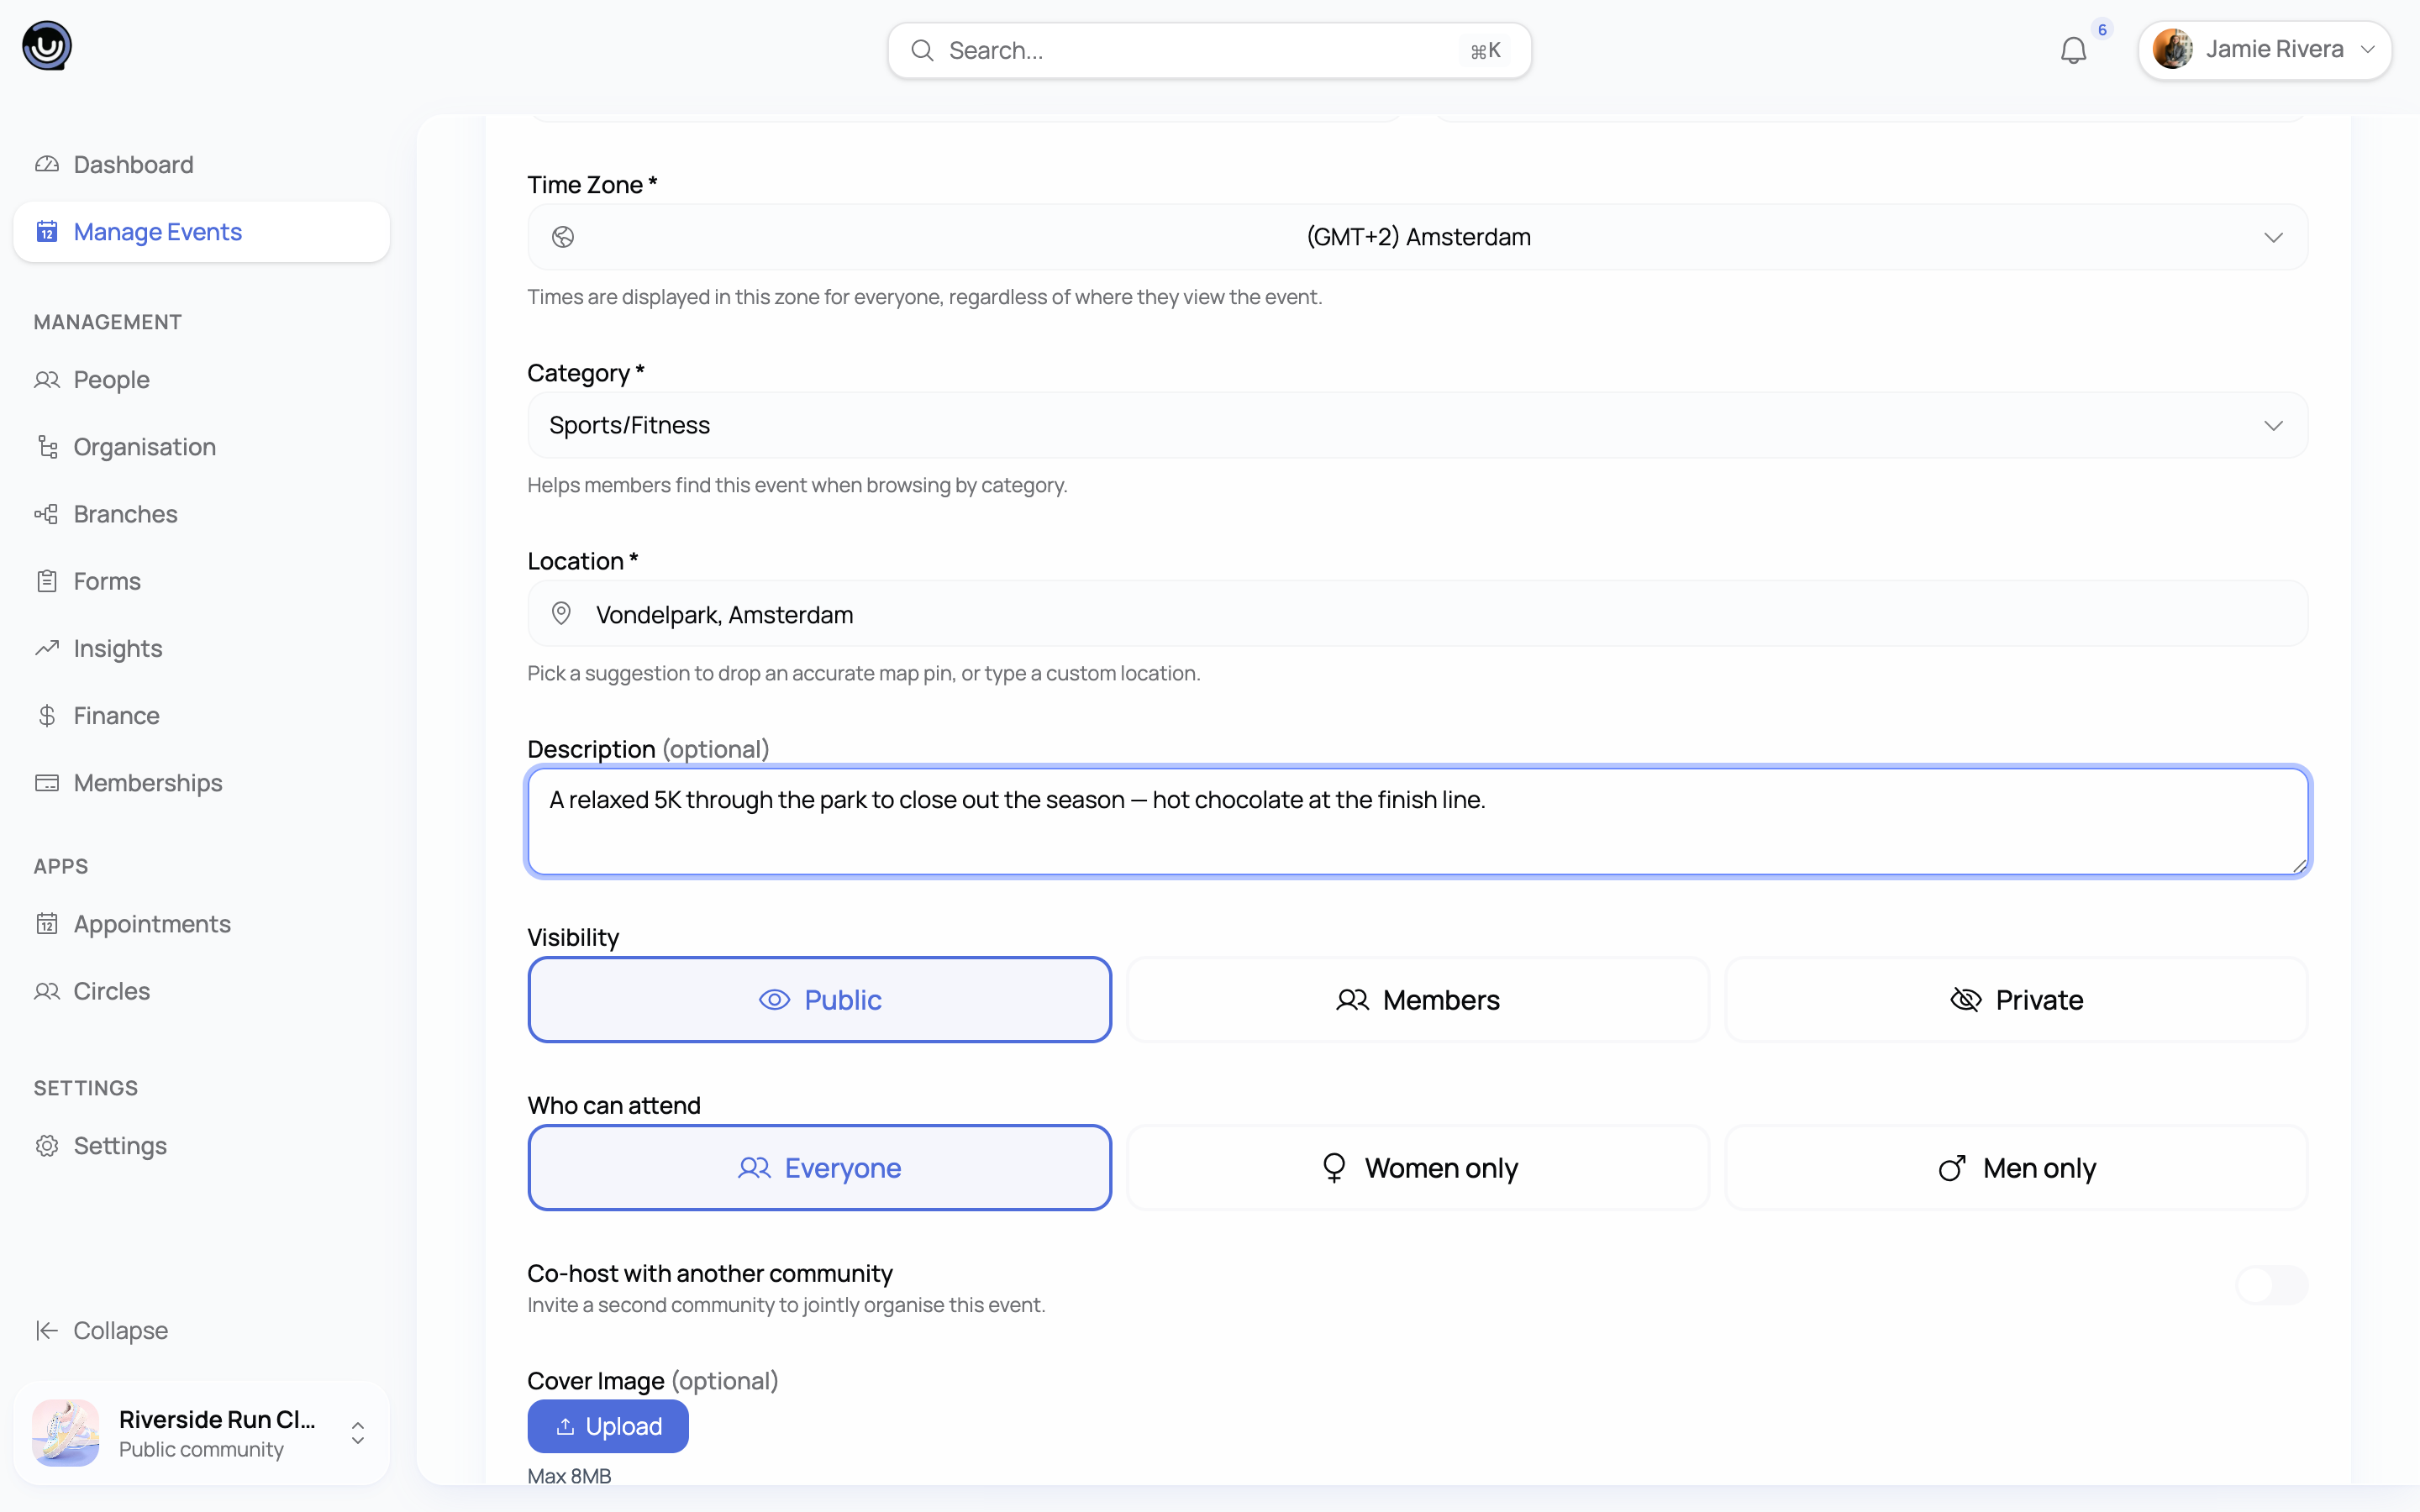
Go to your community's Events section and click New Event. You'll fill in the core details:
- Name
- Description
- Start and end date and time
- Location (a physical address or a virtual meeting URL)
- Category
- Visibility (public, or members only)
- Cover image
The event saves as a Draft until you publish it. Drafts are only visible to you and other admins, so you can take your time getting the details right before anyone else sees it.
Step 2: Set up registration
Once the event is created, you choose how people register. The answer to one question drives everything: is this a free event or a paid one?
Free events
For free events, YeahApp automatically creates a free "General Admission" ticket. You don't need to configure anything. If you want to collect more than just a name and email, attach a registration form to the event — members will fill it in when they register.
A form must be in Published status to appear on the event page. If you build one but leave it as Draft, attendees won't see it.
Paid events
For paid events, you need a Stripe account connected to your community before you can sell tickets. If you haven't done that yet, you'll be prompted to go through Stripe onboarding first. Once your Stripe account has charges and payouts enabled, you can come back and set up your ticket types.
With Stripe connected, click Add Ticket Type and fill in the details for each tier:
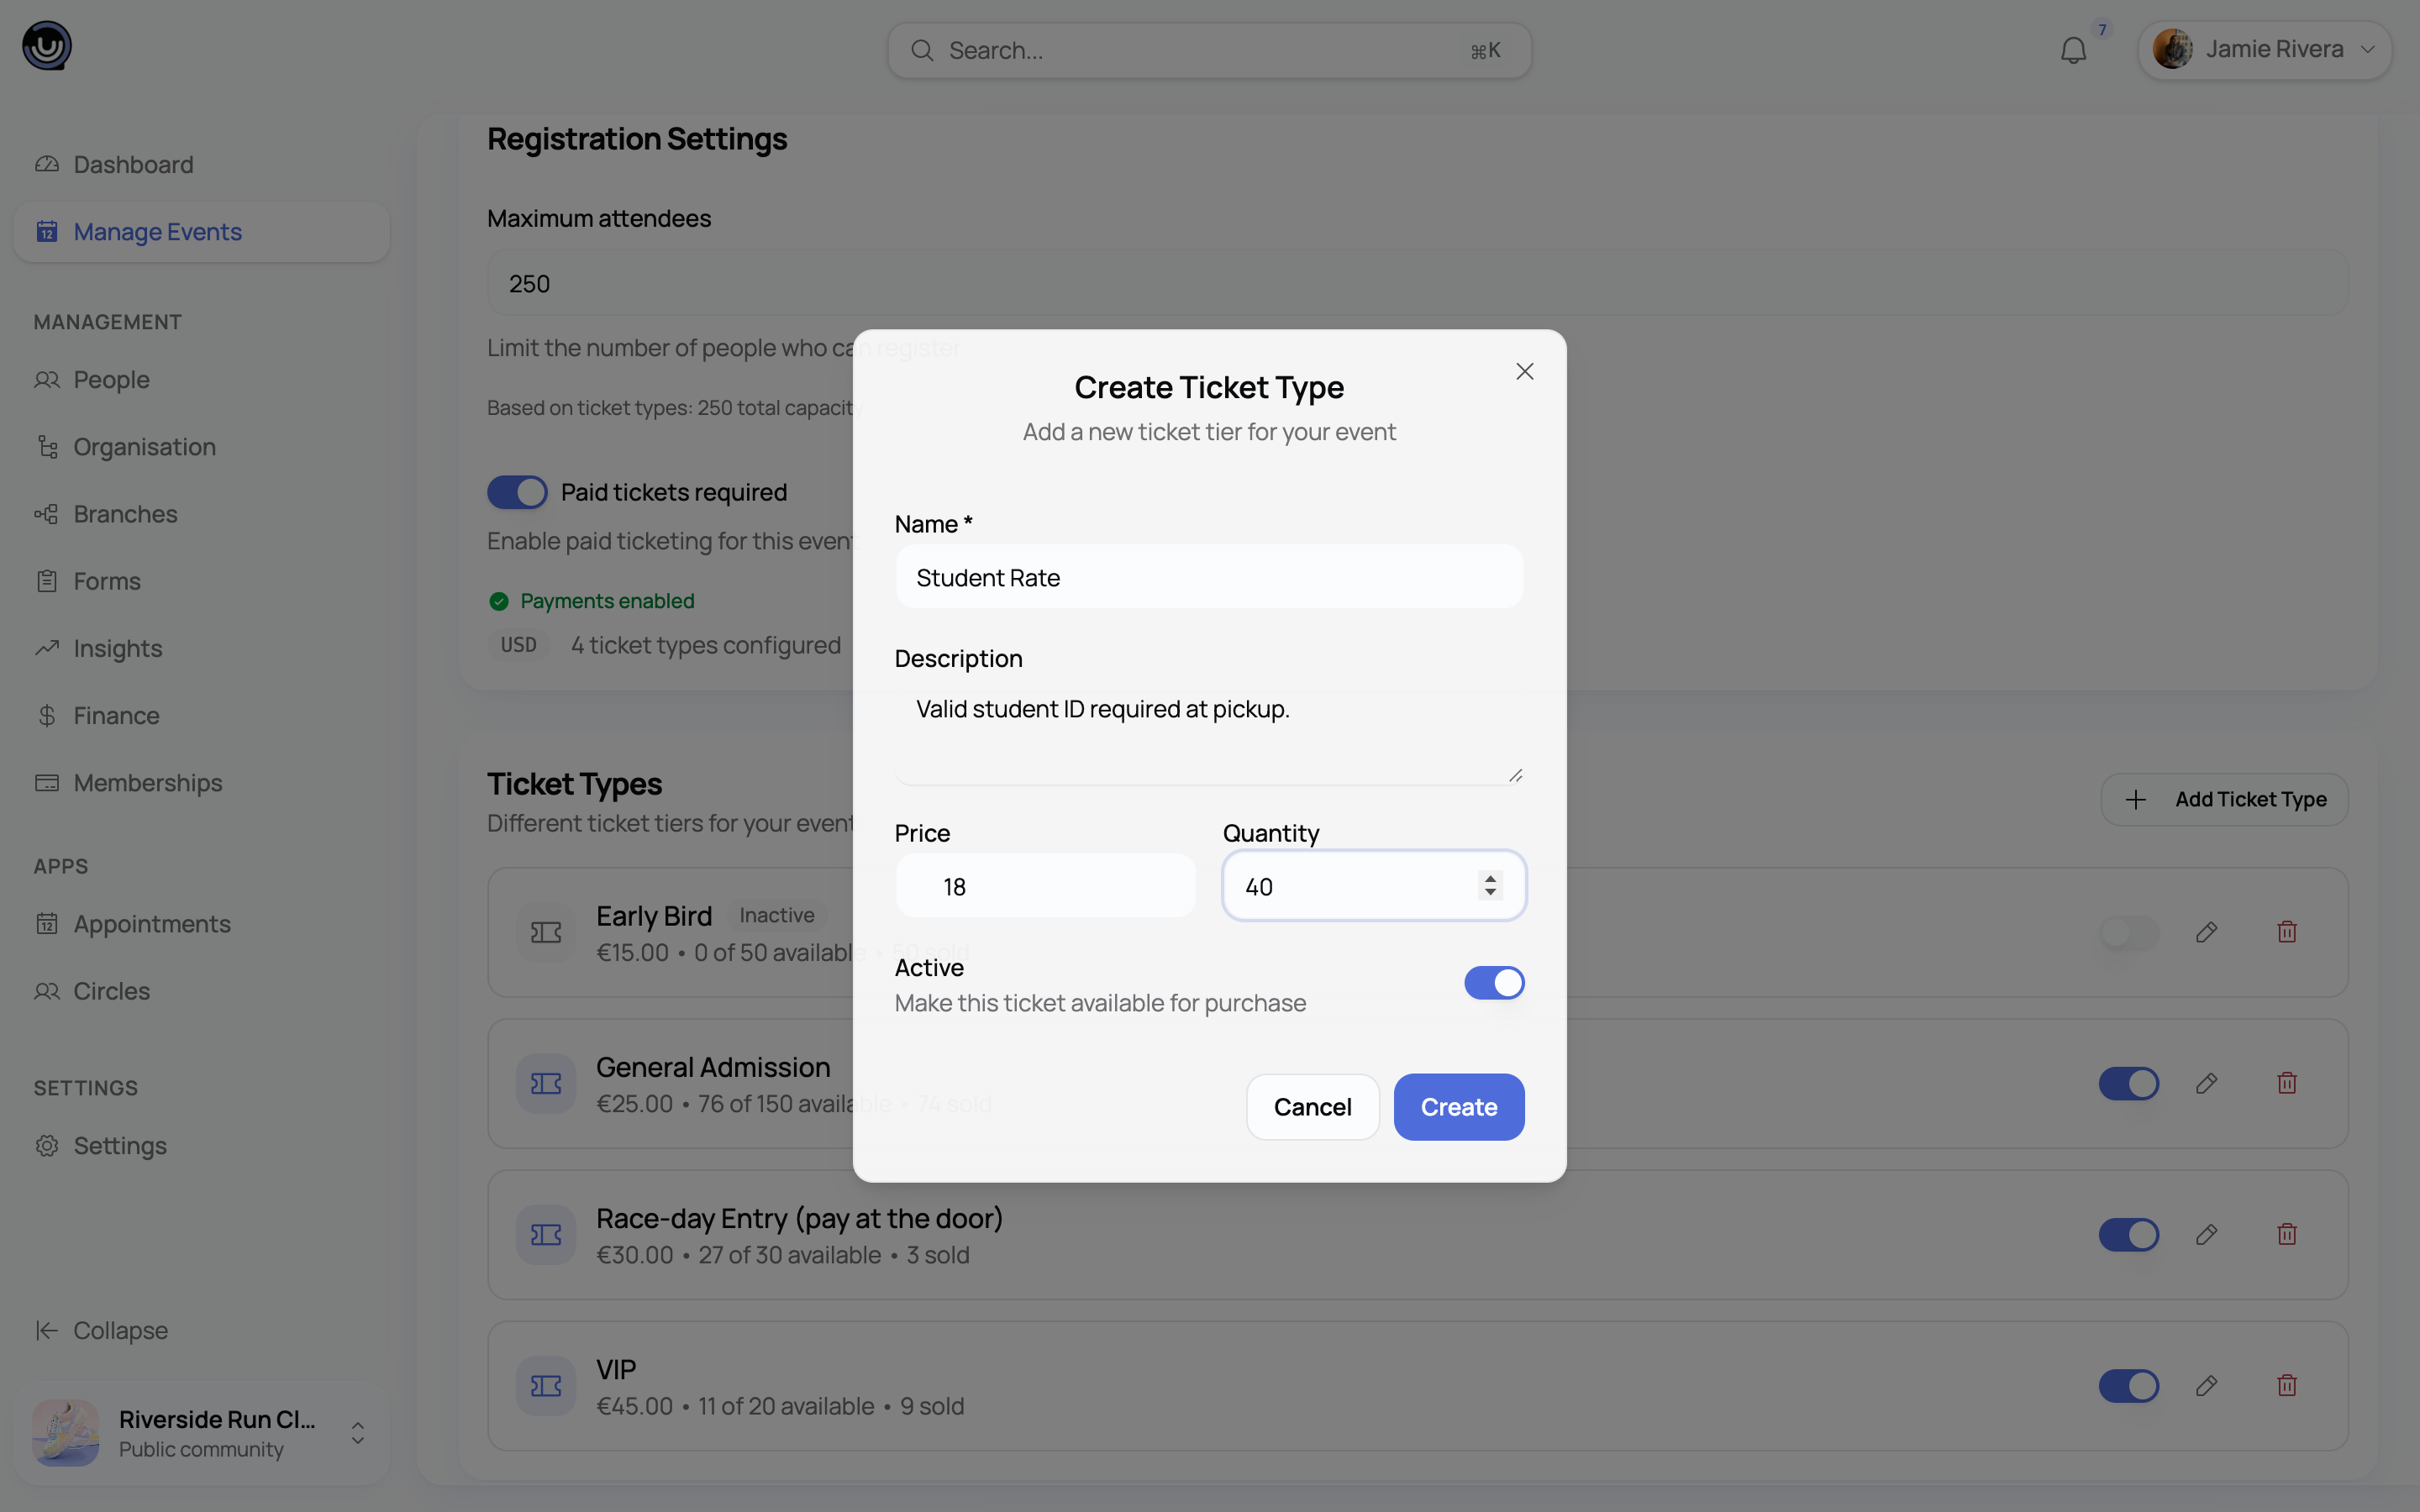
- Name (Early Bird, General Admission, VIP, etc.)
- Description
- Price
- Total quantity available
- Sale window (start and end dates)
You can add as many ticket types as the event needs. Each one shows up as a separate option during checkout.
Platform fees are added as a separate line item when attendees pay. They're not baked into the ticket price you set.
Step 3: Publish the event
When you're ready to go live, change the event status to Published. This makes the event visible on your community page and generates a public-facing event page with a shareable URL.
If you want to embed the event on another website, the event page includes an iframe embed code you can copy.
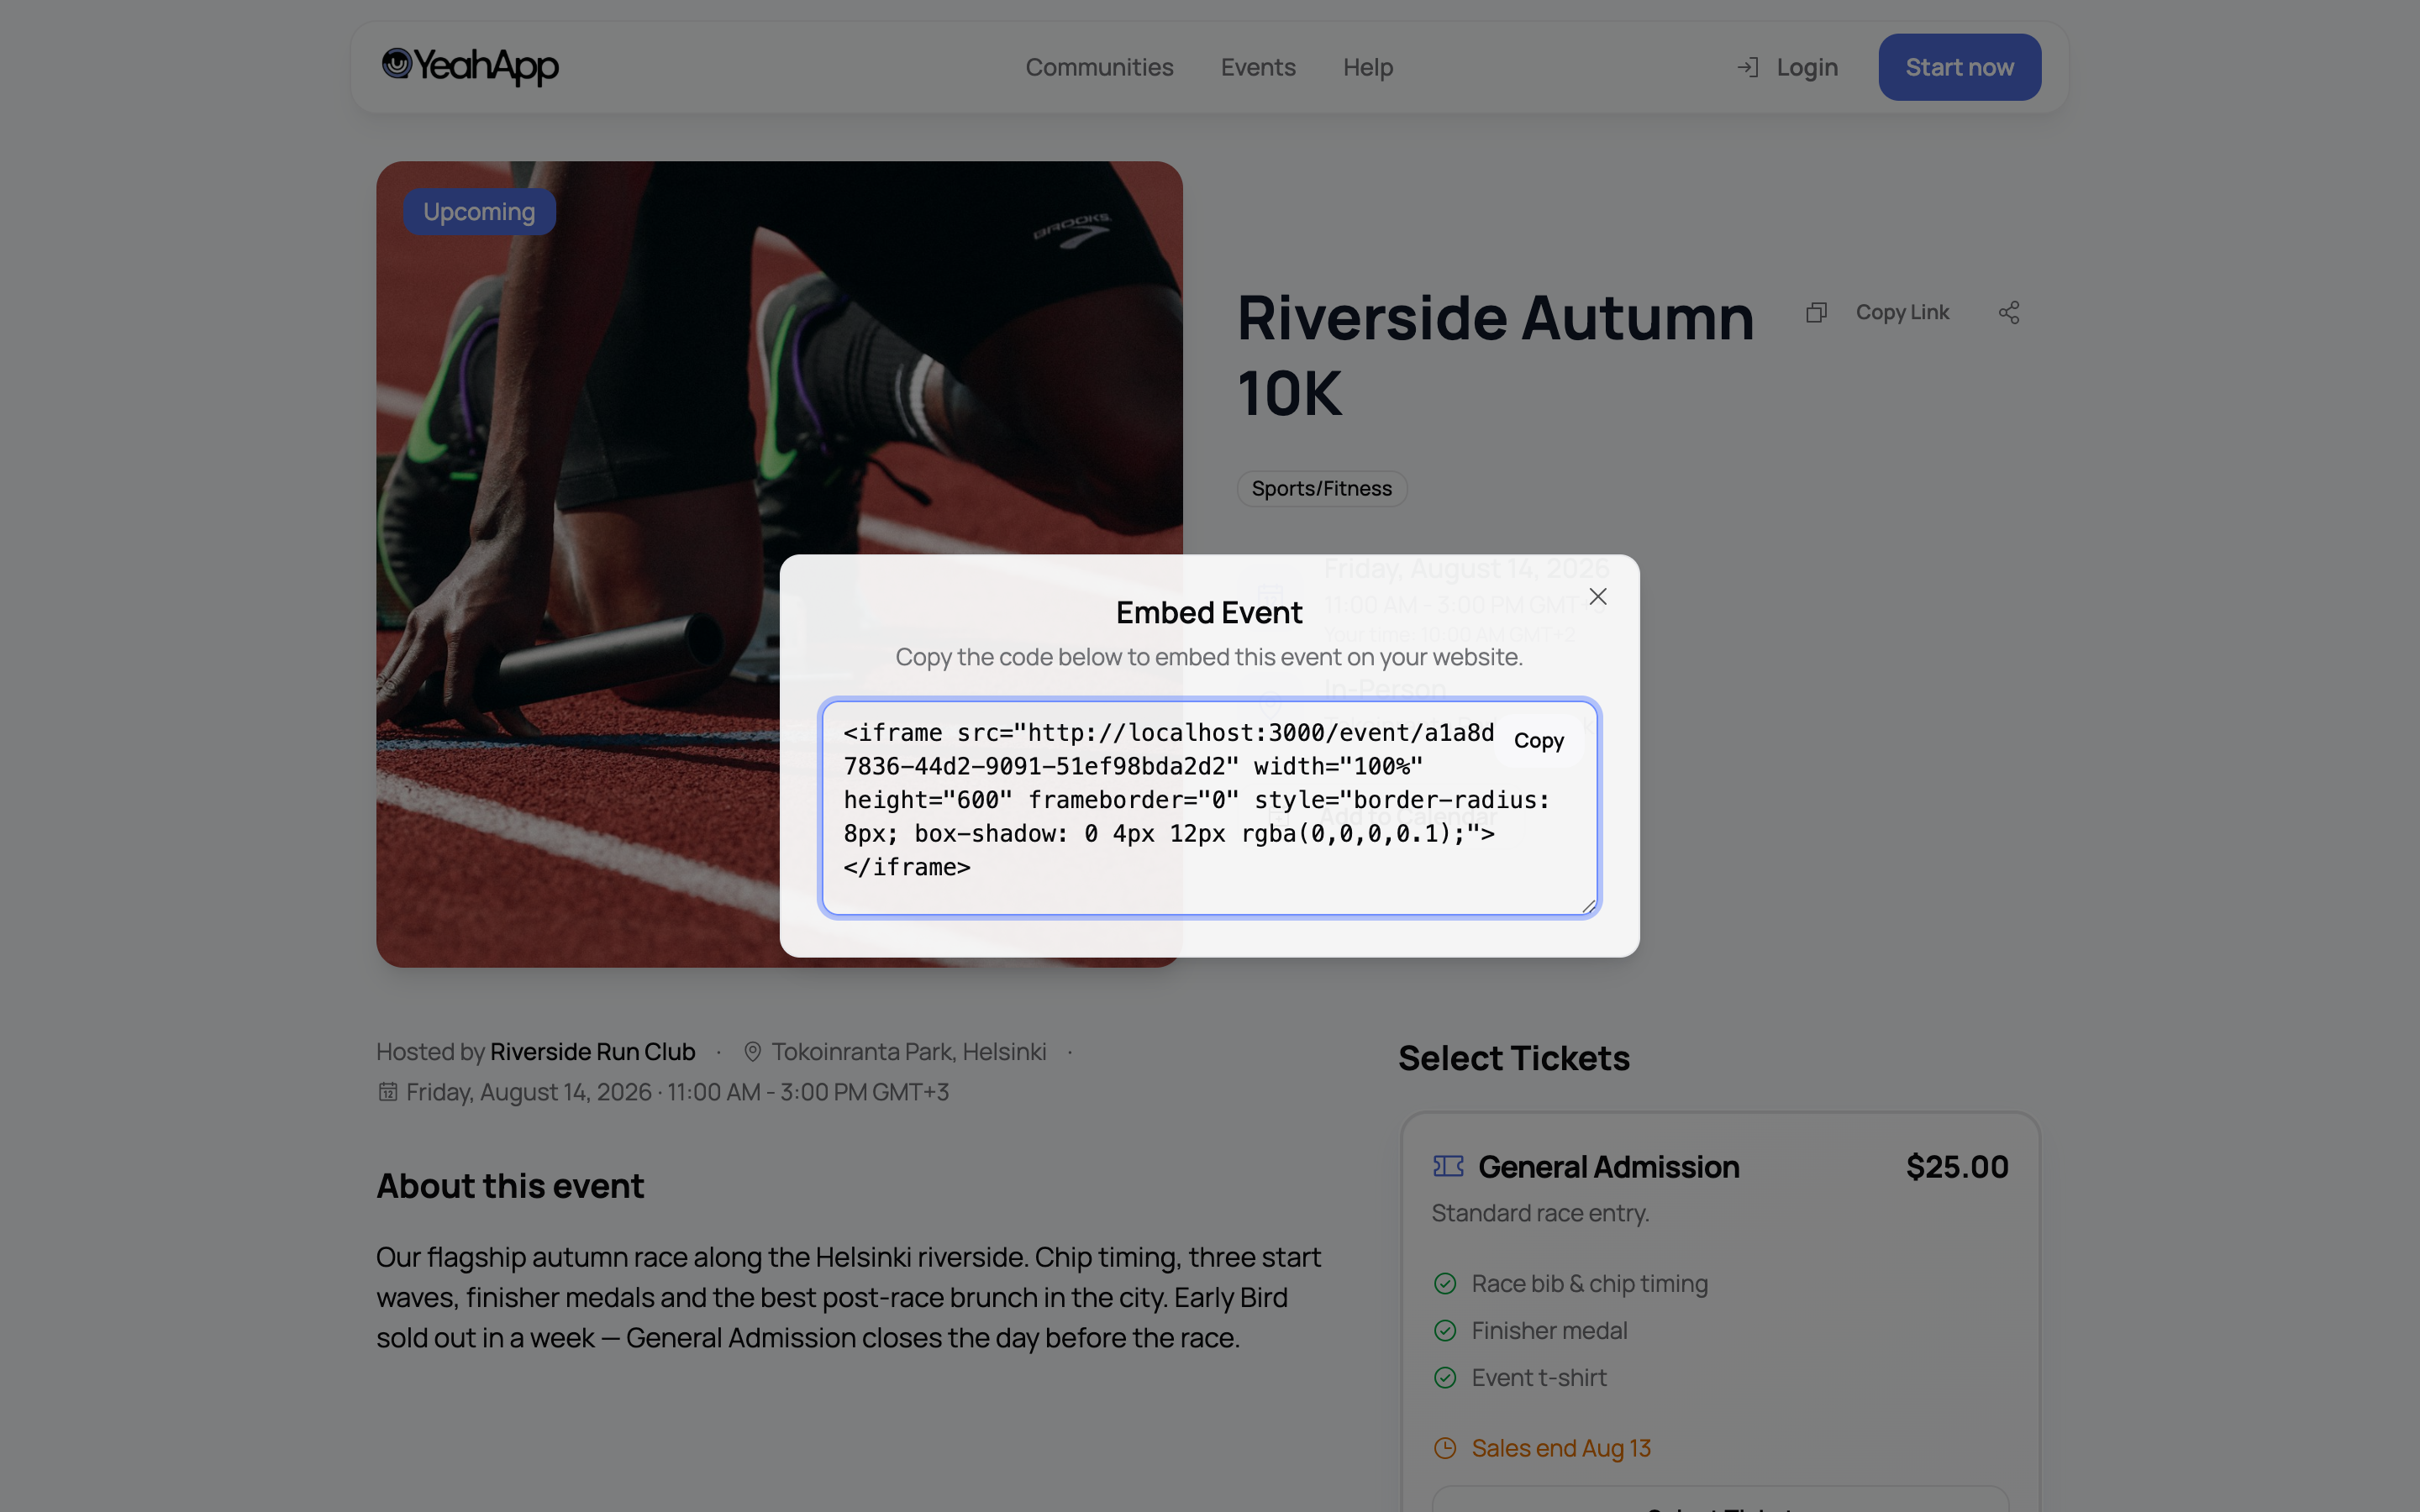
Once published, members can register or buy tickets straight from the event page.
Step 4: Monitor registrations
Head to the event's registration or attendee view to see who's signed up. For paid events you can also track ticket sales by type, revenue totals, and how many of each tier are still available.
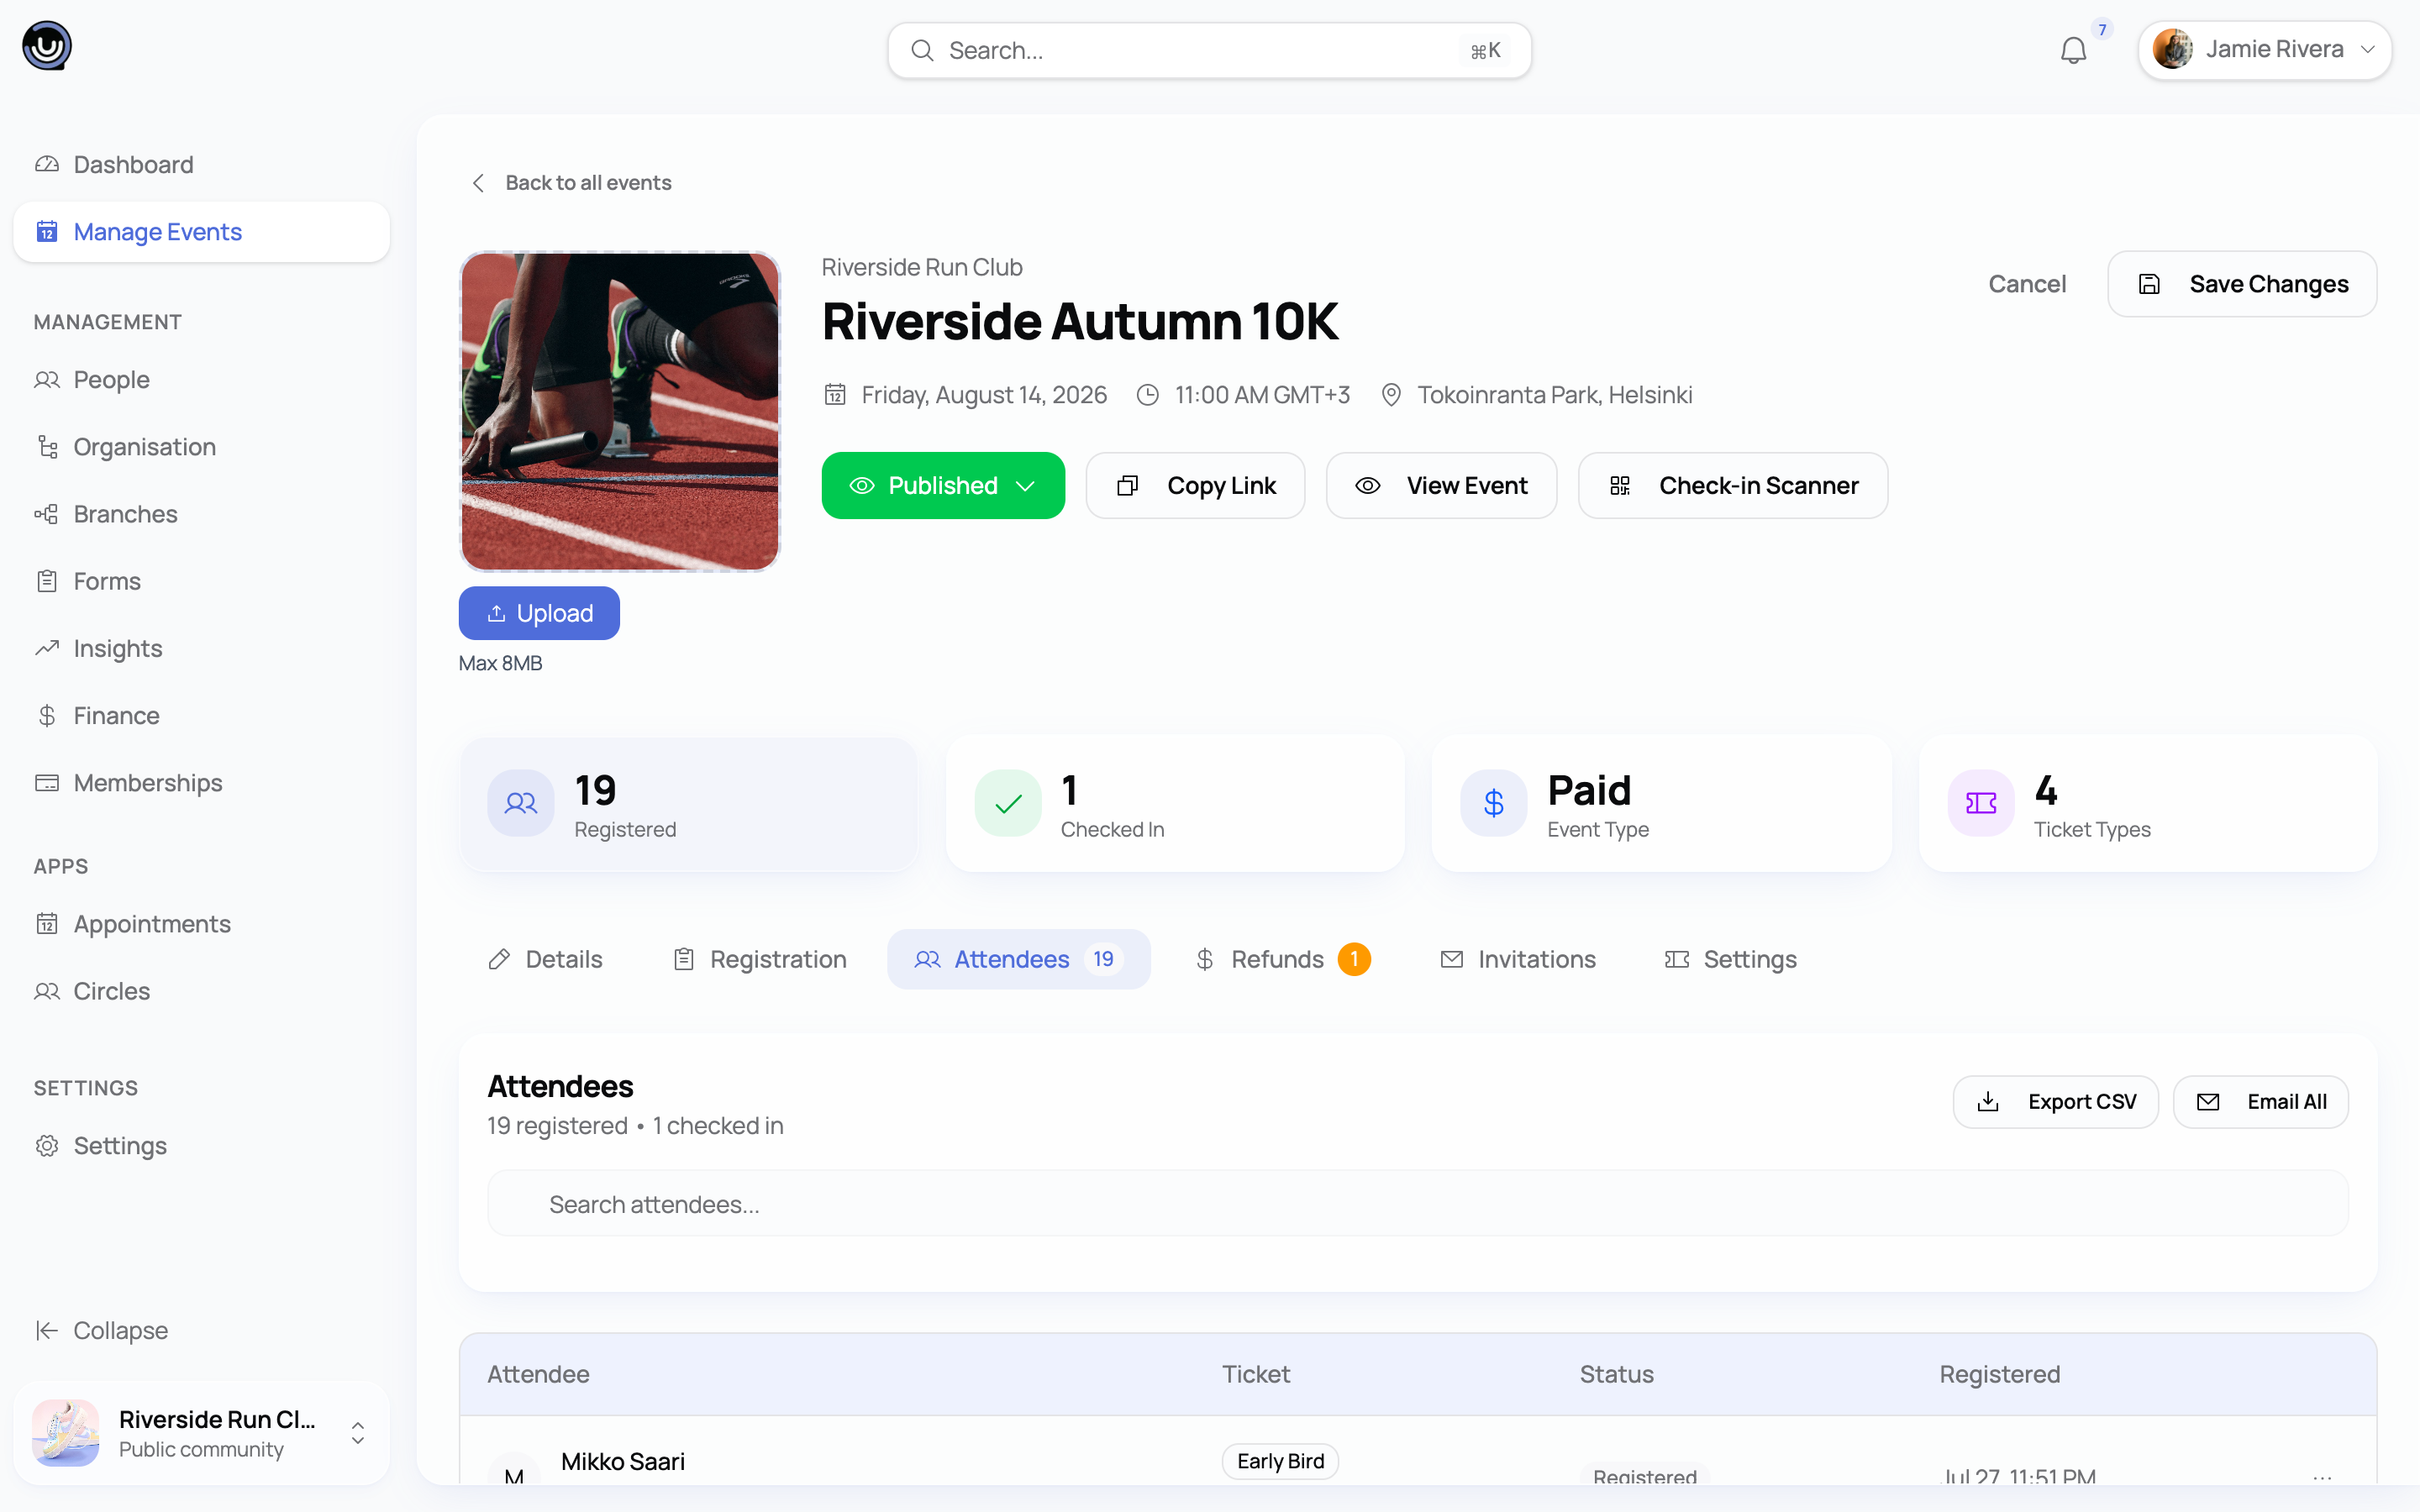
If you attached a form, responses live at the form's manage page. You can export them as a CSV at any point.
Step 5: Check in attendees on the day
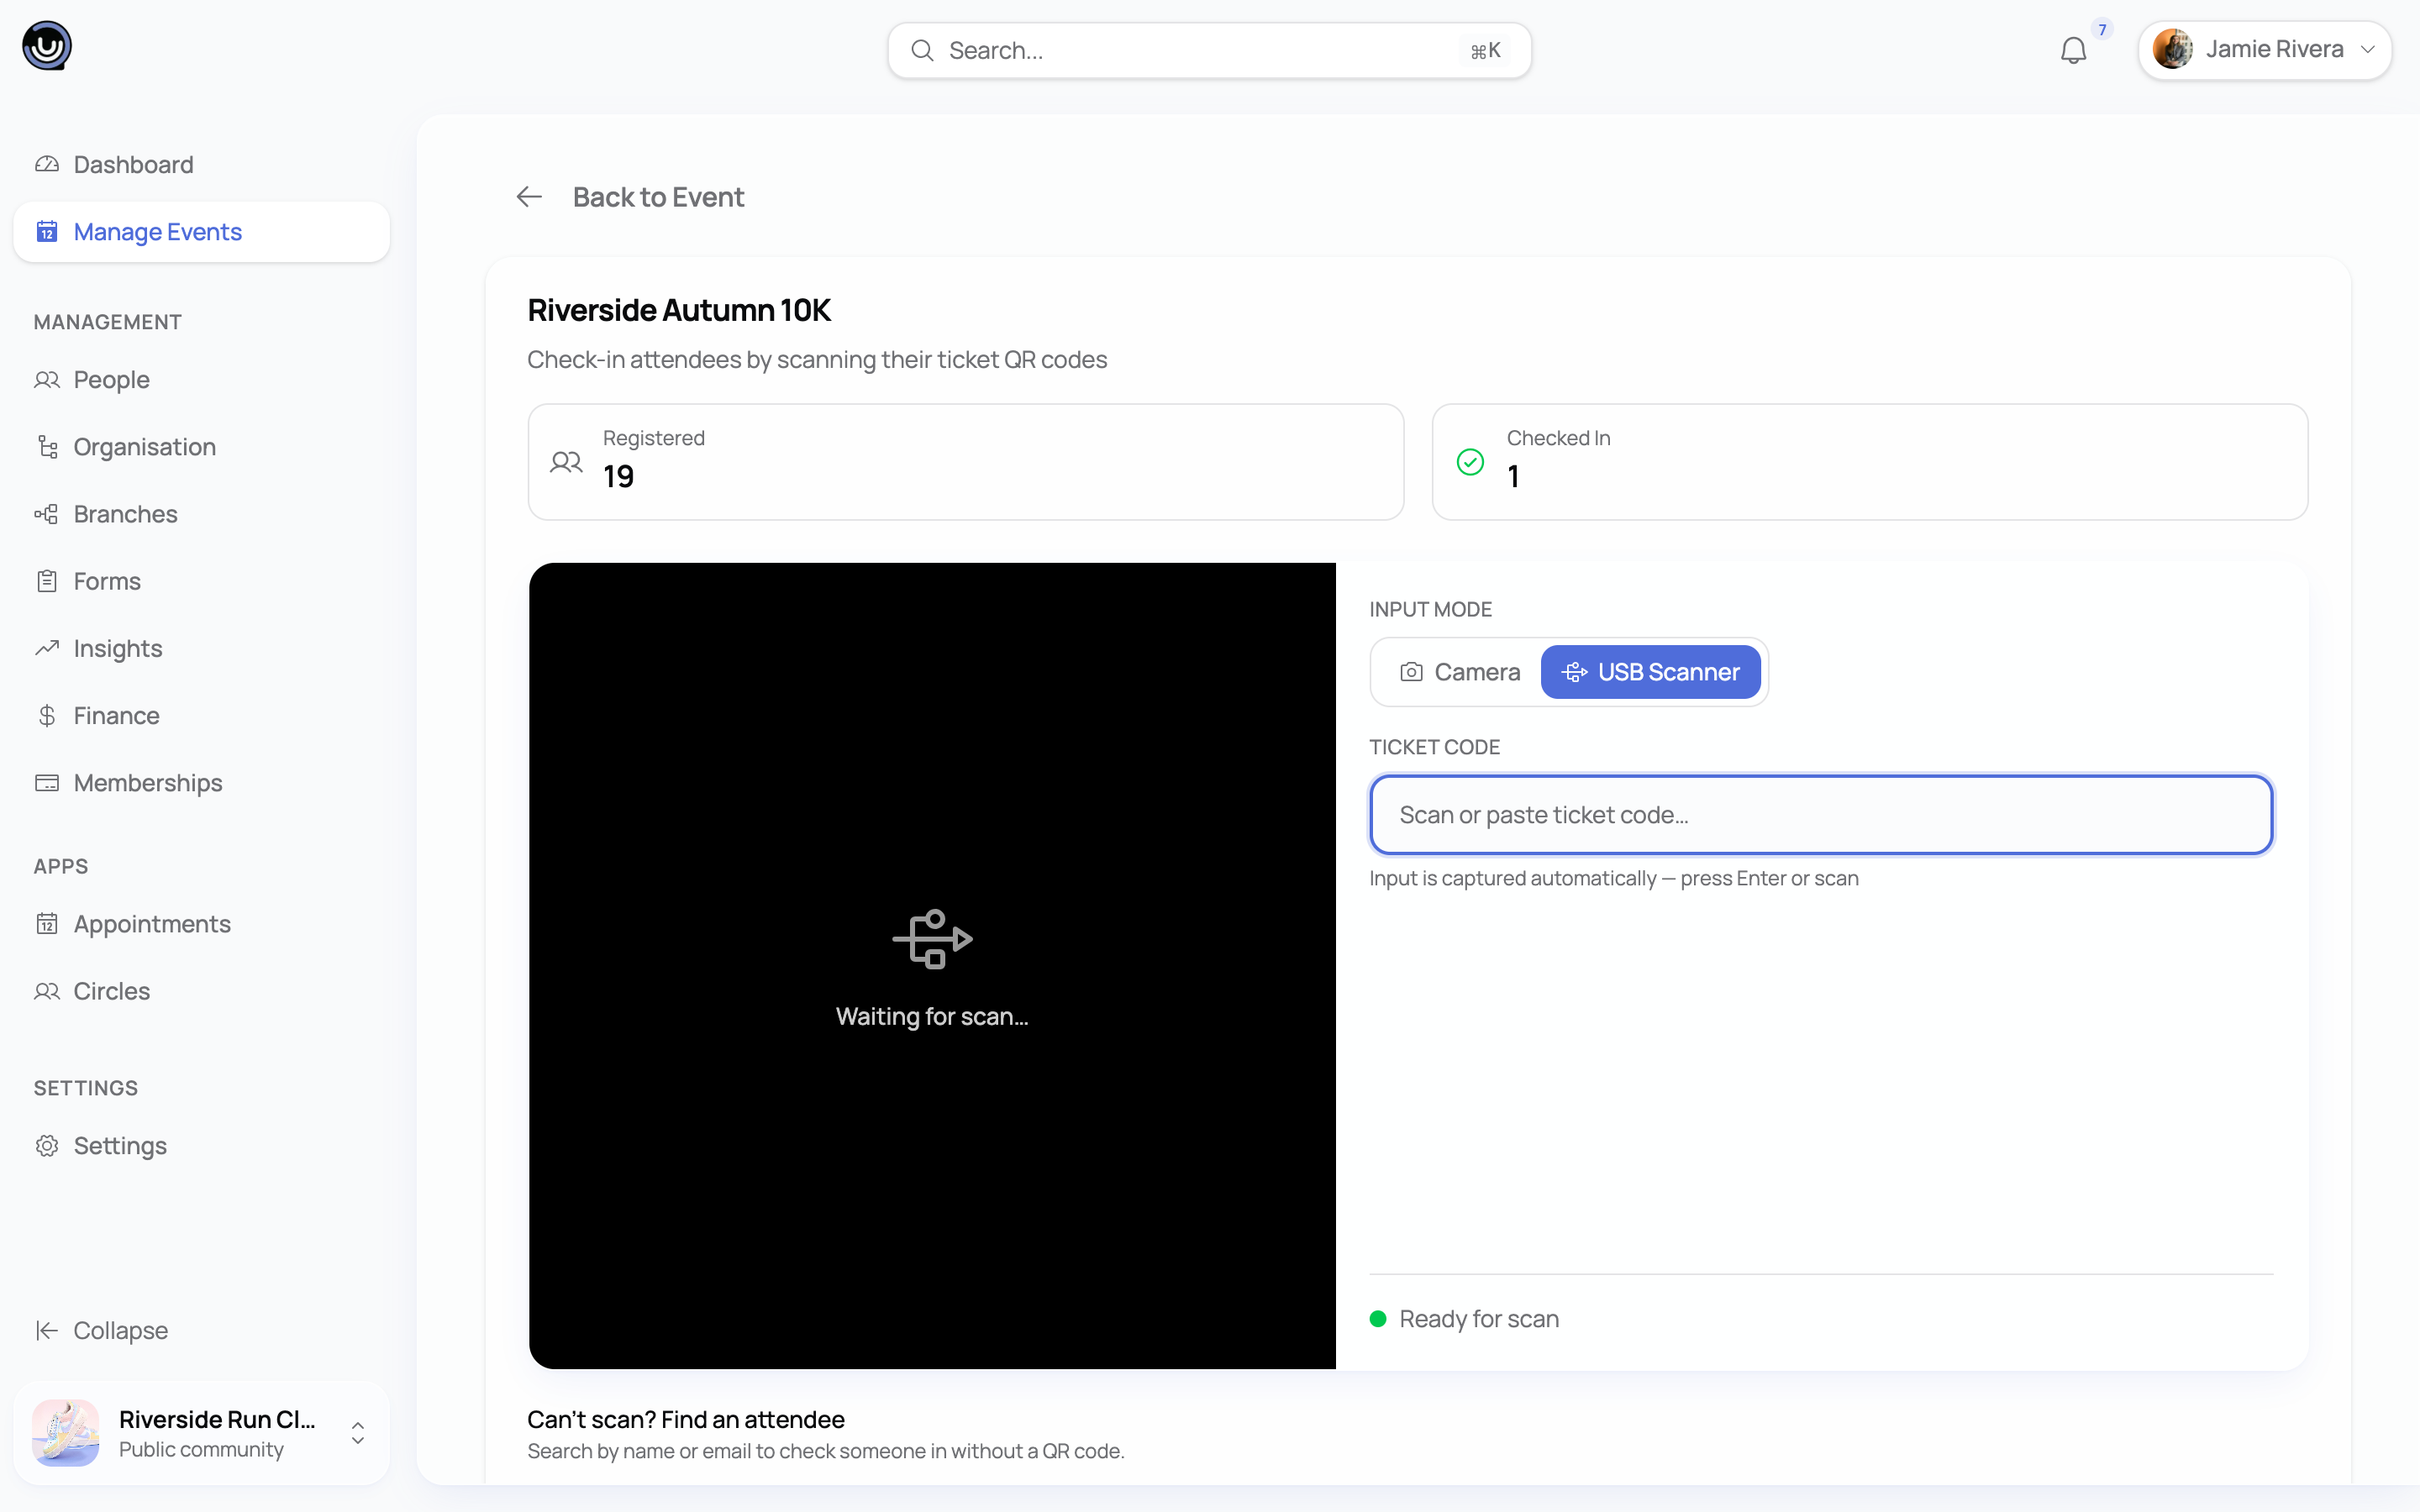
Every attendee gets a QR code when they register or purchase a ticket. On the day of the event, use the validation screen in YeahApp to scan them.
Here's how check-in works:
- Open the QR validation screen for the event.
- Scan the attendee's QR code.
- YeahApp checks the ticket status.
- If the ticket is valid, the attendee is marked as checked in and their attendance profile updates automatically.
- If the ticket is invalid, already used, or unpaid, you'll see an error. You can decide whether to try scanning again or move on.
Duplicate scans are rejected automatically. Once a ticket is marked as used, scanning it a second time shows an error rather than checking the person in again.
Step 6: Review analytics after the event
After the event wraps up, the status moves to Completed and analytics become available. You'll see:
- Total registered vs. total attended
- No-show rate
- Ticket sales breakdown by type (for paid events)
- Revenue totals
- Form submission counts
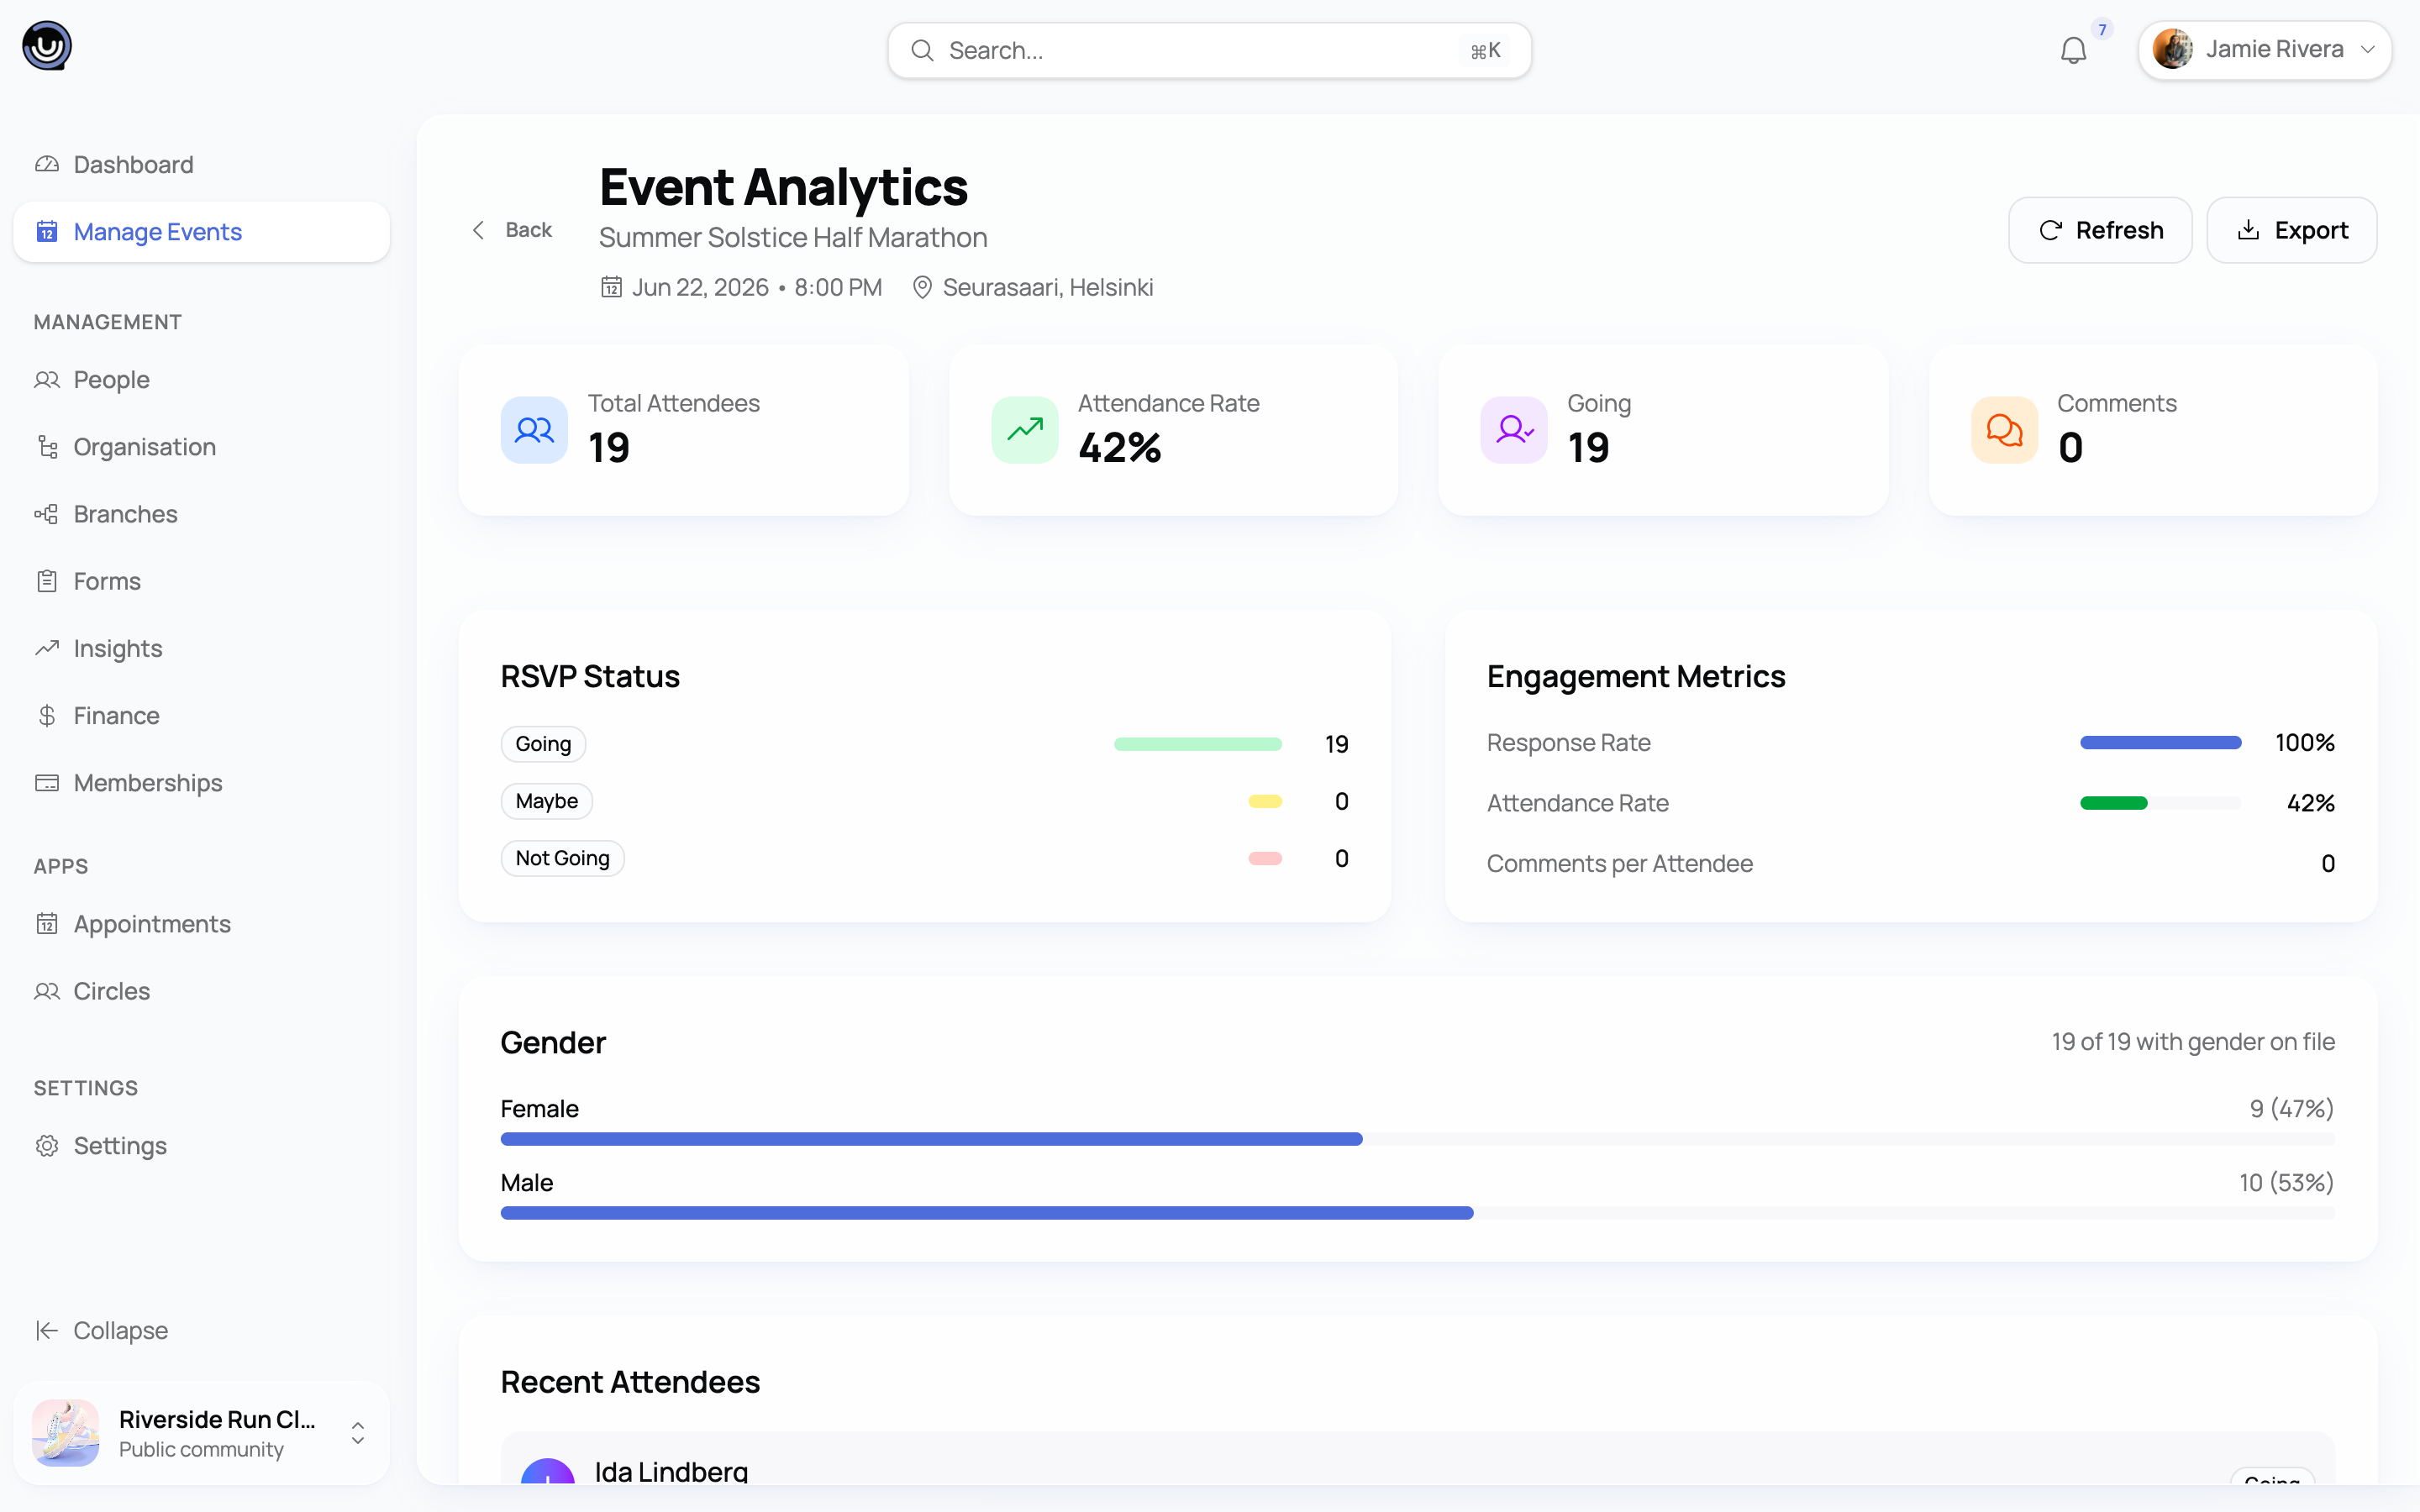
These numbers update as soon as check-ins are recorded, so you can also check them during the event if you want a live headcount.
Quick reference: the full flow
Here's the entire process end to end, from opening the event creation screen to organising a completed event:
The event lifecycle
Once you publish an event, it can go one of two ways: you cancel it and attendees are notified automatically, or the event goes ahead as planned. After the event runs, its core details are locked. From that point you can still update its status, but not the date, location, pricing or other set-up details.
Related guides
- Types of events you can create — free vs paid, public vs members-only, in-person vs virtual
- Connecting your Stripe account — set this up before you can sell tickets
- How event refunds work — the refund process for paid events
- Community Roles & Permissions — who can create and manage events
- Building forms for registration and events — add custom questions to your event's registration
- Selling tickets for your event — set up ticket types and pricing
- Checking people in with QR codes — check attendees in on the day